Hey there, fellow Halloween lovers! 🎃 With the arrival of the eerie season, it’s now the perfect moment to tap into your creativity and start carving! If you’re similar to me, you likely feel a fondness for horror movies and anything eerie.
Why not merge those passions and make some spookily enjoyable pumpkins this Halloween?
Below, you’ll find over 40+ simple DIY pumpkin carving ideas inspired by popular horror movies that are sure to impress and delight your neighbors. Get ready to transform your pumpkins into frightful masterpieces!”
Essential Supplies
Before we dive into the projects, here’s a quick list of supplies you’ll need:
- Fresh pumpkins (medium to large for easy carving)
- Carving tools (pumpkin carving kits work great!)
- Sharp kitchen knife (for cutting the top off)
- Spoon (for scooping out the insides)
- Markers or pens (for sketching designs)
- Candles or LED lights (for lighting)
- Paper towels (for cleanup)
- Optional: Fake blood, paint, fabric, and other decorative elements
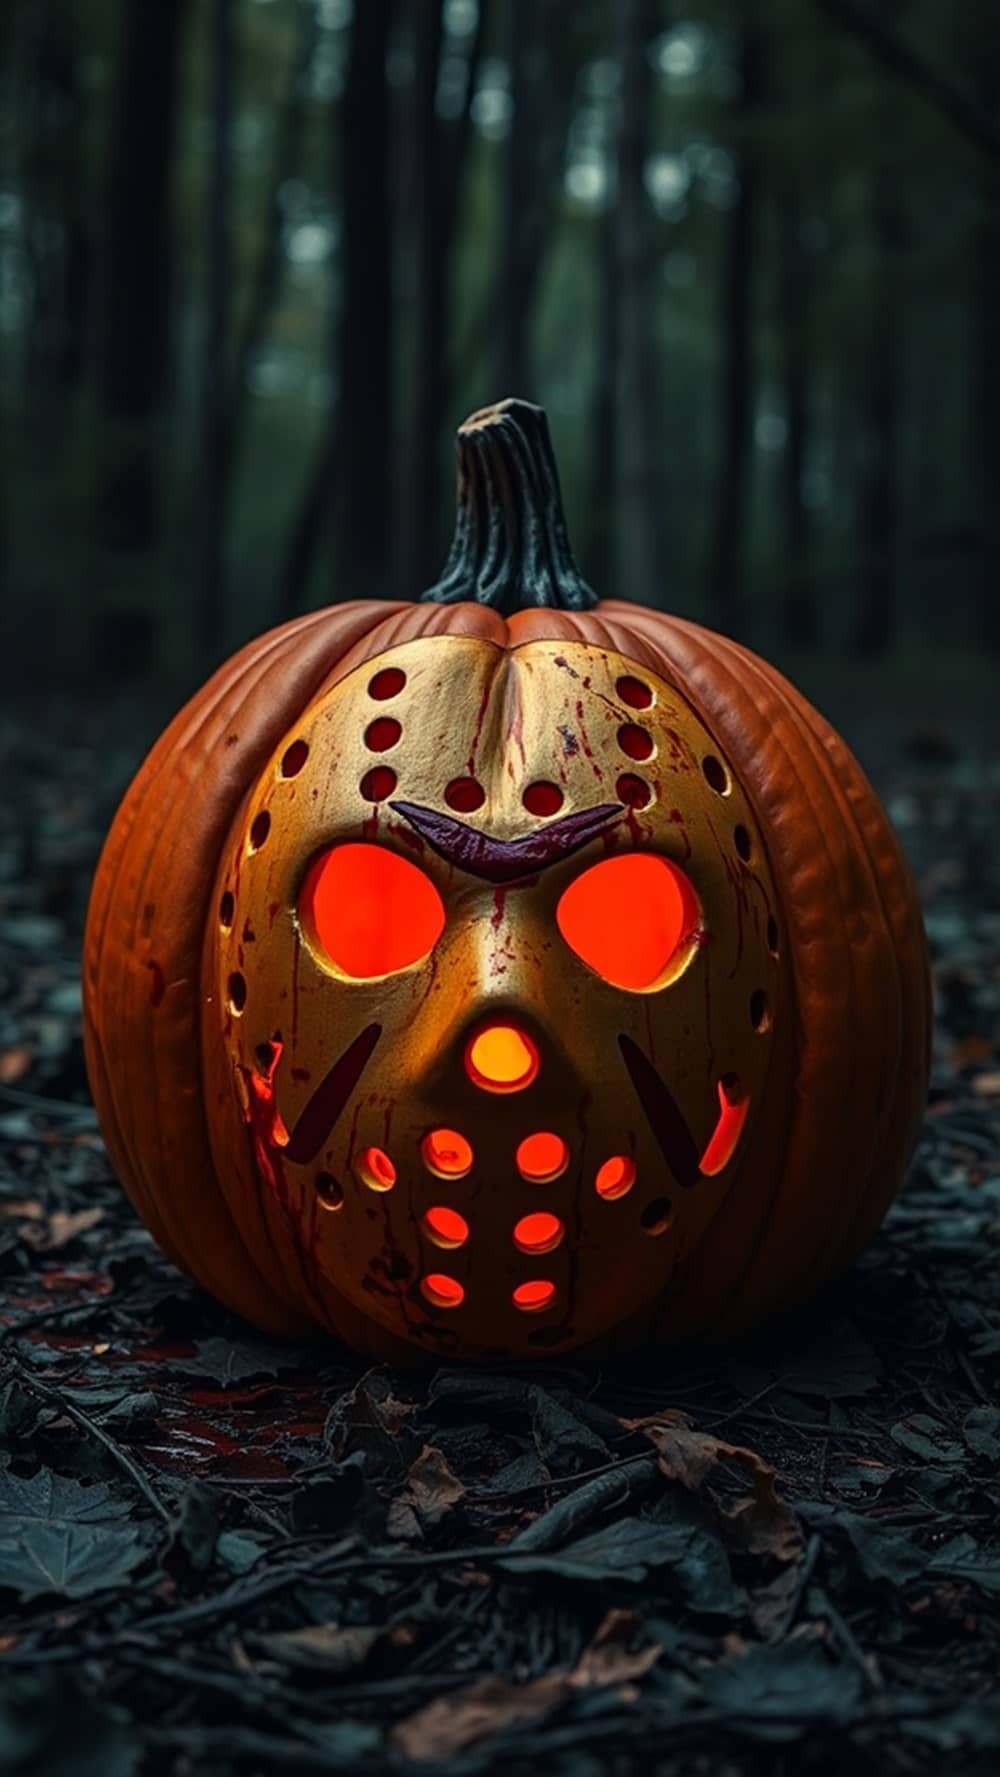
Jason Voorhees Pumpkin (Friday the 13th)
- Choose a Pumpkin: Pick a medium-sized pumpkin with a smooth surface.
- Cut the Top Off: Using a sharp knife, cut a circle around the stem to create a lid.
- Scoop Out the Insides: Use a spoon to remove the seeds and stringy guts until the inside is clean.
- Sketch the Design: Draw Jason’s hockey mask on the front of the pumpkin.
- Carve the Design: Carefully carve out the mask, focusing on the eye holes and mouth.
- Add Fake Blood: Drip fake blood around the pumpkin for a gory effect.
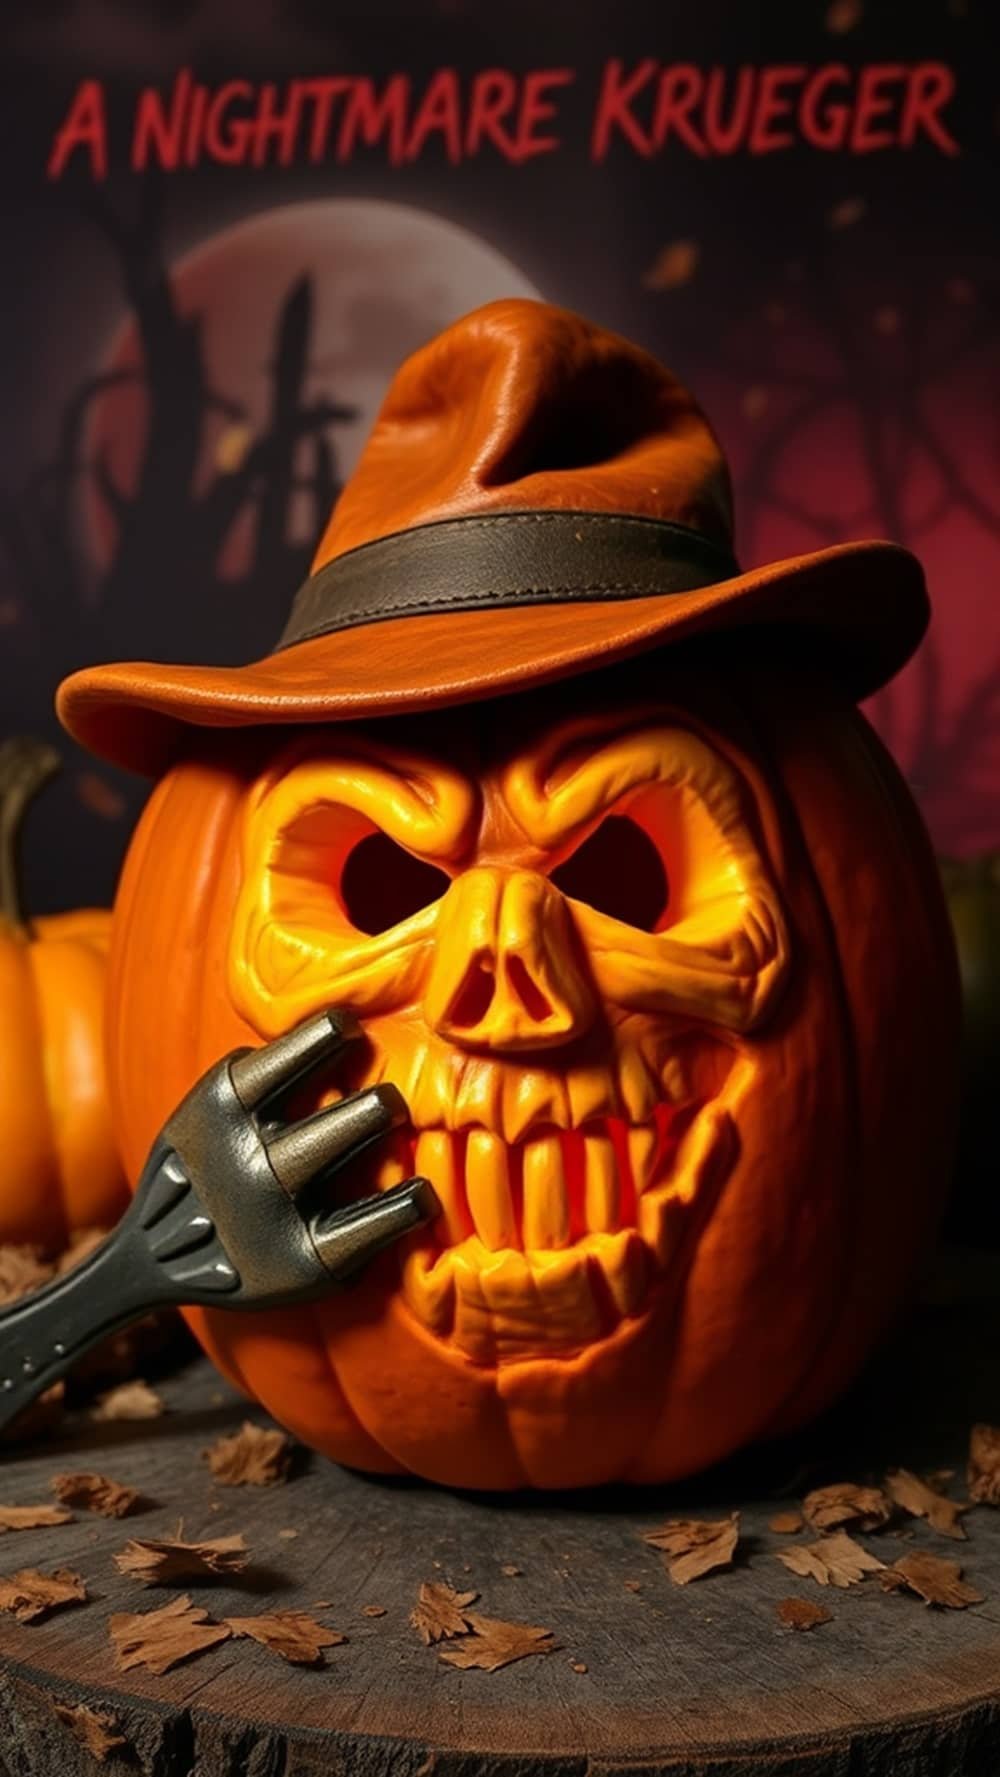
Freddy Krueger Pumpkin (A Nightmare on Elm Street)
- Prepare the Pumpkin: Cut off the top and scoop out the insides.
- Draw Freddy’s Face: Sketch Freddy’s face, including his iconic hat and scars.
- Carve the Features: Carefully carve out his face, paying attention to details like the eyes and mouth.
- Paint the Hat: Use brown paint to add color to the hat.
- Optional: Place a small toy razor glove next to the pumpkin for added creepiness.
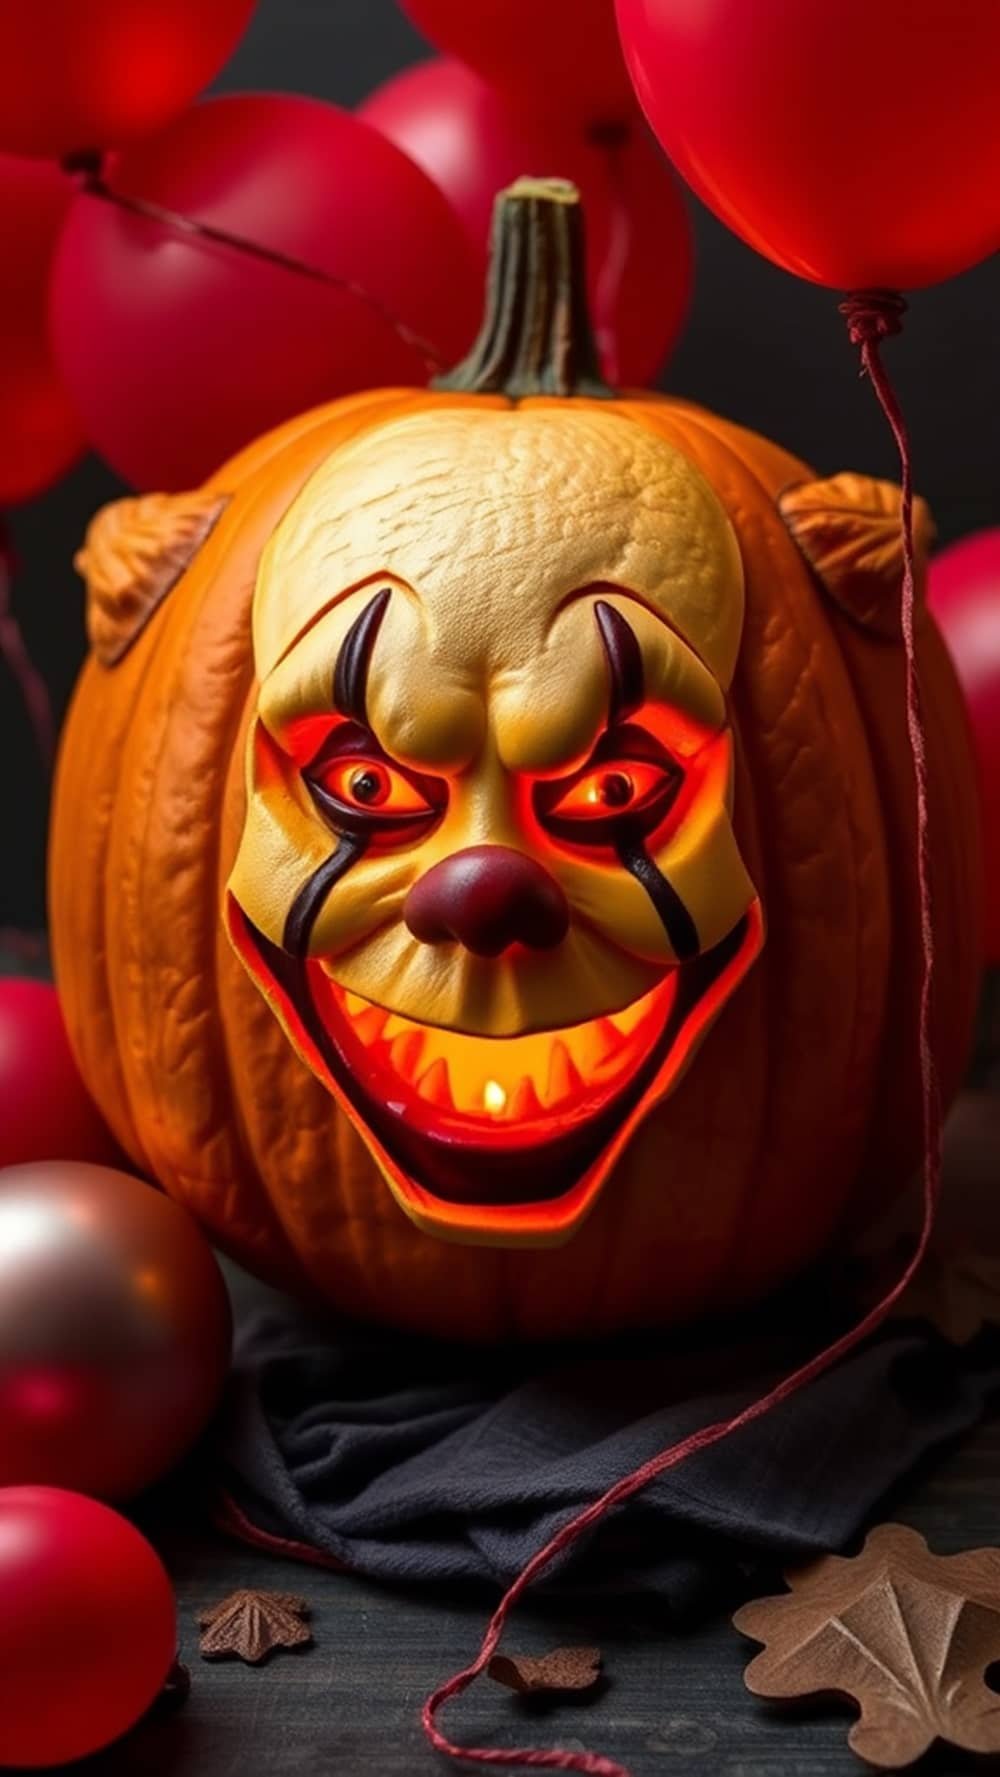
Pennywise Pumpkin (It)
- Select a Pumpkin: Cut off the top and scoop out the insides.
- Sketch Pennywise: Draw his creepy face, focusing on the wide smile and red nose.
- Carve the Face: Carve out the features carefully.
- Paint Details: Use white paint for the face and red for the nose and details.
- Add Balloons: Place red balloons around the pumpkin for extra effect.
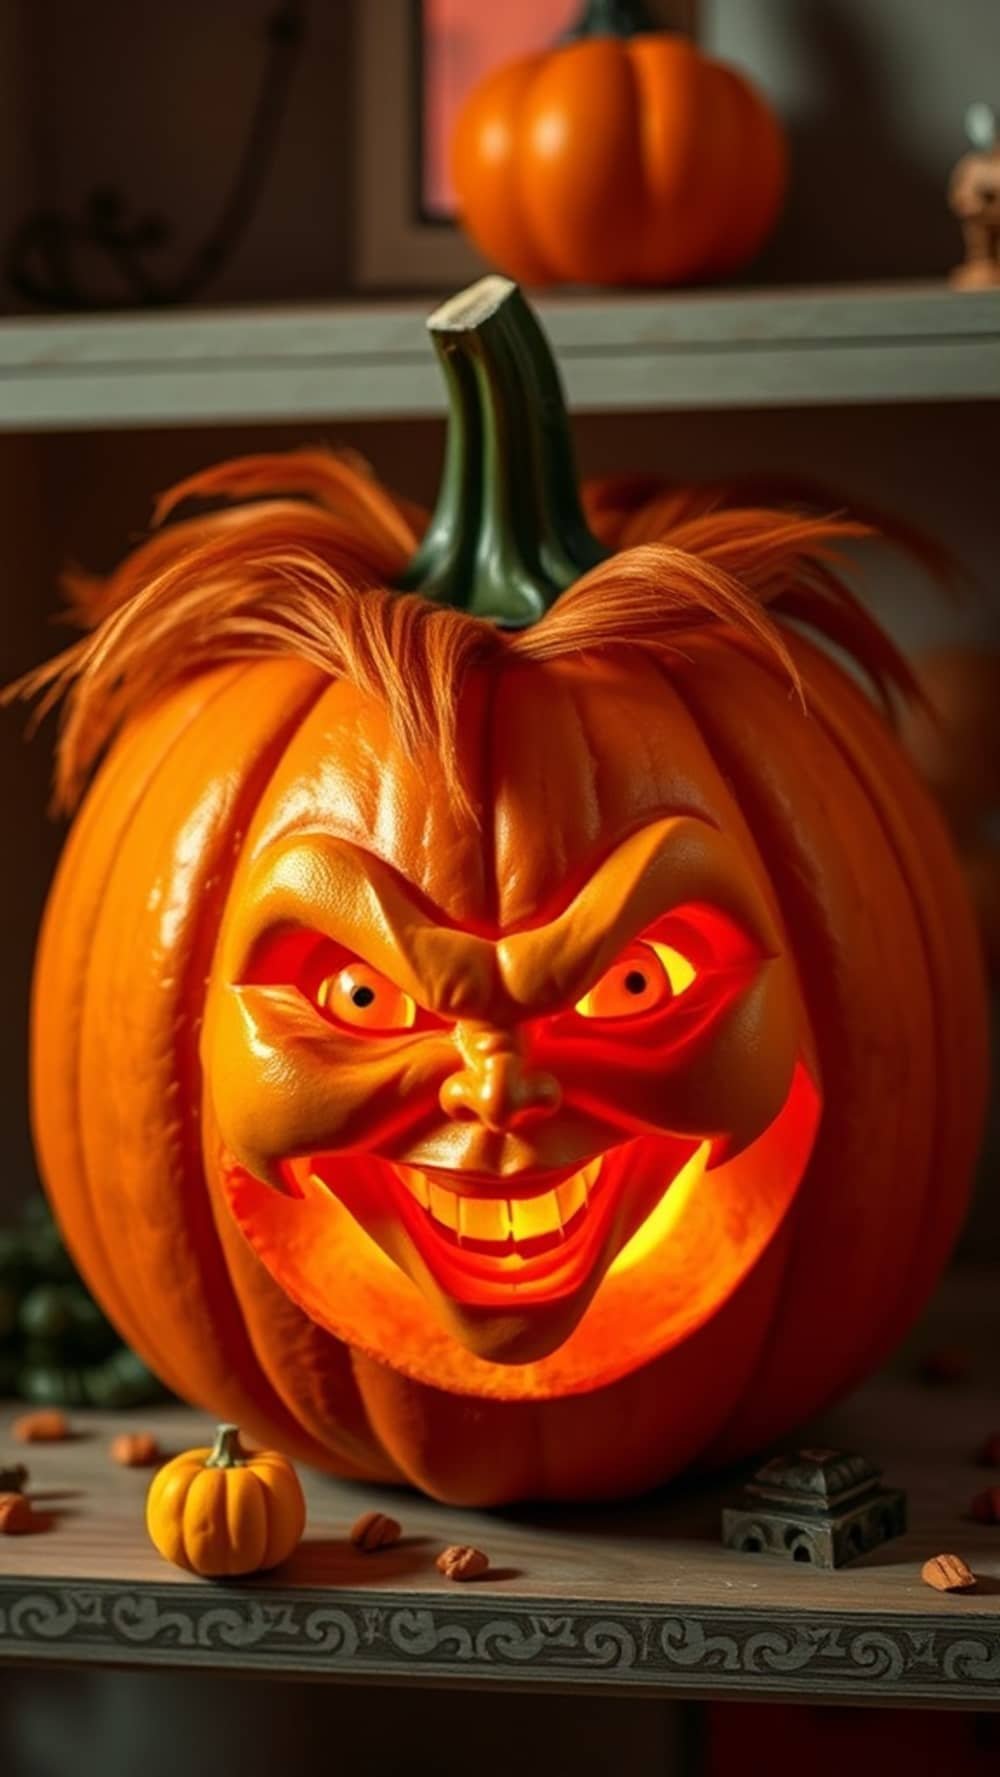
Chucky Pumpkin (Child’s Play)
- Cut the Top Off: Prepare your pumpkin by cutting the lid and scooping out the guts.
- Draw Chucky’s Face: Sketch his wild hair and mischievous grin.
- Carve the Features: Carefully carve out Chucky’s face.
- Paint the Hair: Use orange and brown paint to mimic his wild hair.
- Dress the Pumpkin: Use fabric scraps to create Chucky’s outfit.
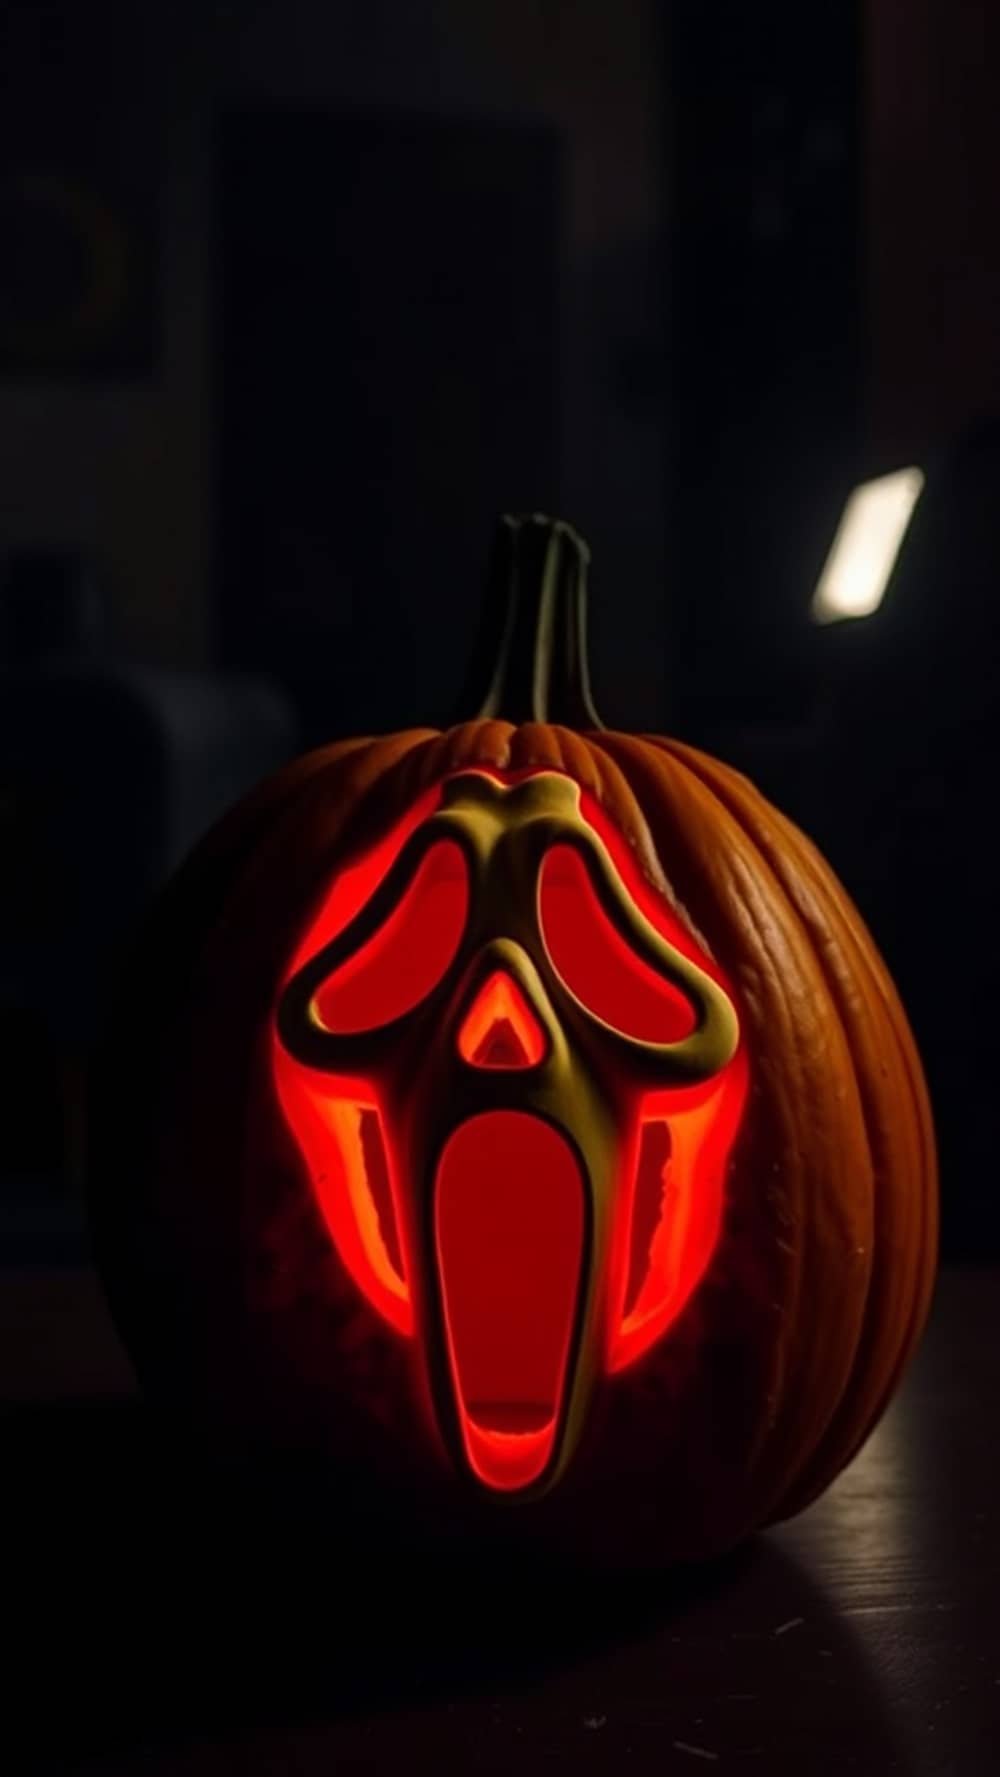
Ghostface Pumpkin (Scream)
- Prepare the Pumpkin: Cut off the top and scoop out the insides.
- Draw Ghostface’s Mask: Sketch the haunting mask design on the pumpkin.
- Carve the Mask: Carve out the mask carefully, emphasizing the wide eyes and mouth.
- Light It Up: Place an LED light inside to create an eerie glow at night.
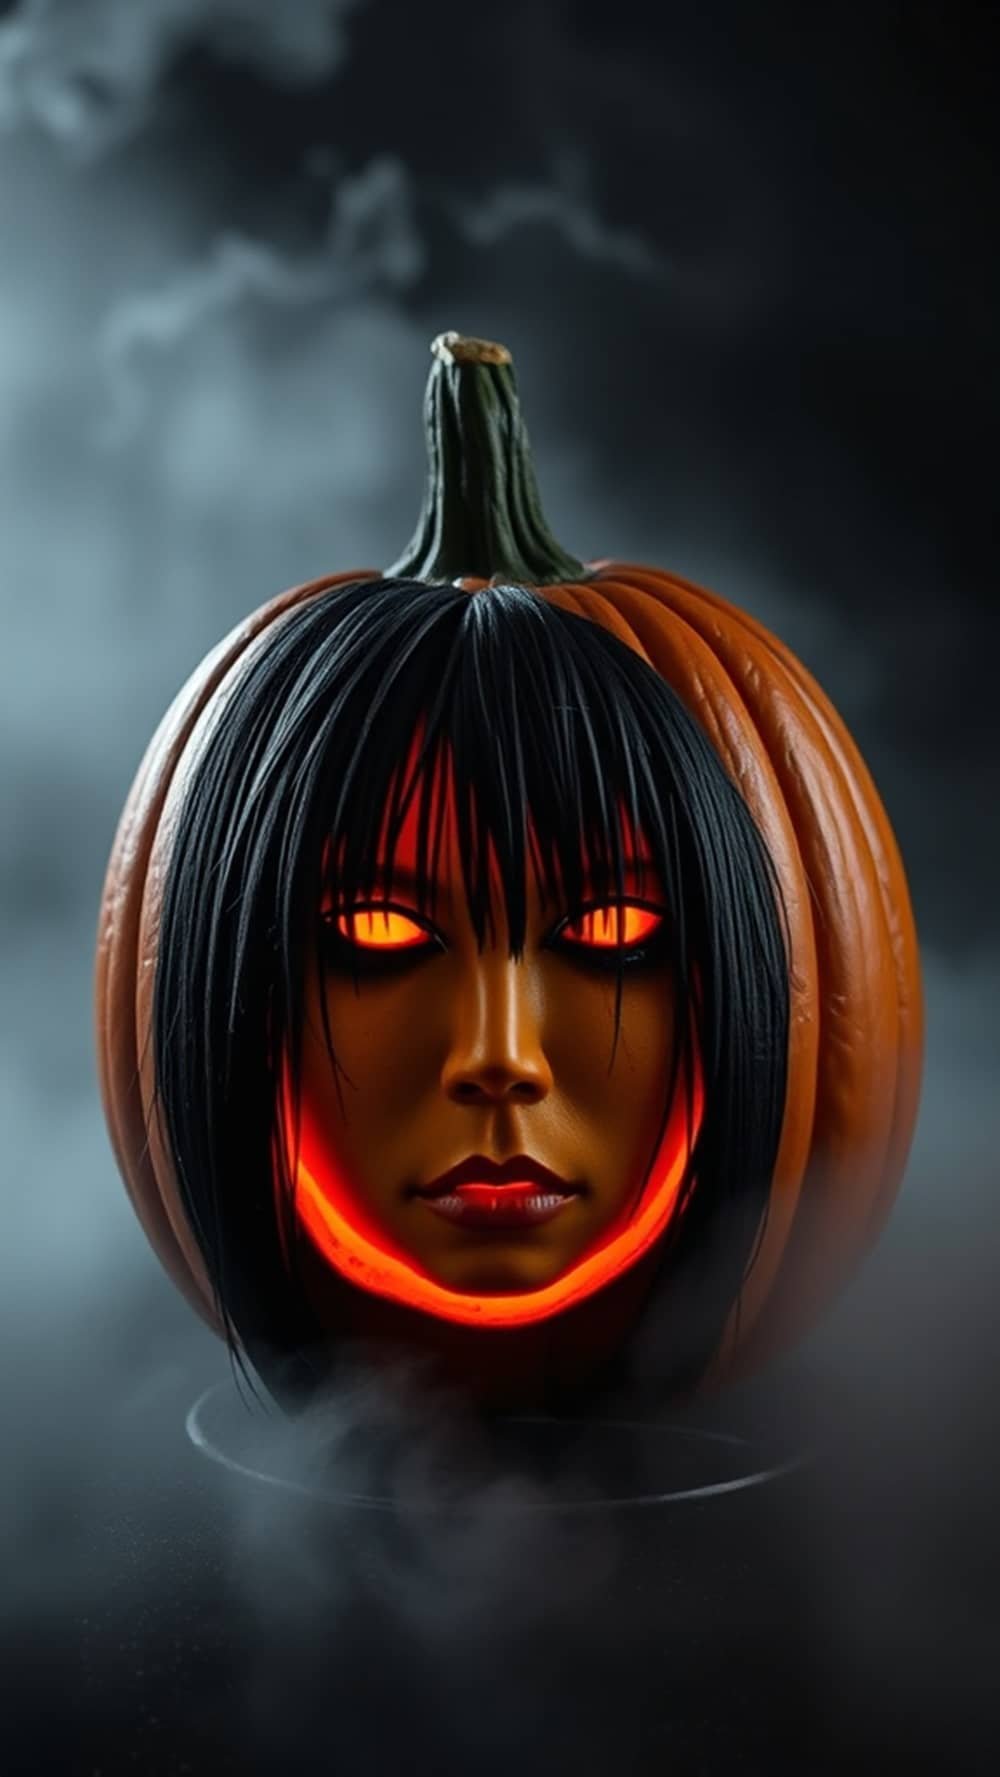
Grudge Pumpkin
- Cut the Top Off: Prepare your pumpkin as usual.
- Sketch Kayako’s Face: Draw her haunting expression with long hair.
- Carve the Features: Carefully carve her face into the pumpkin.
- Paint the Hair: Use black paint to create long, flowing hair.
- Light It Up: Add an LED light for a ghostly glow.
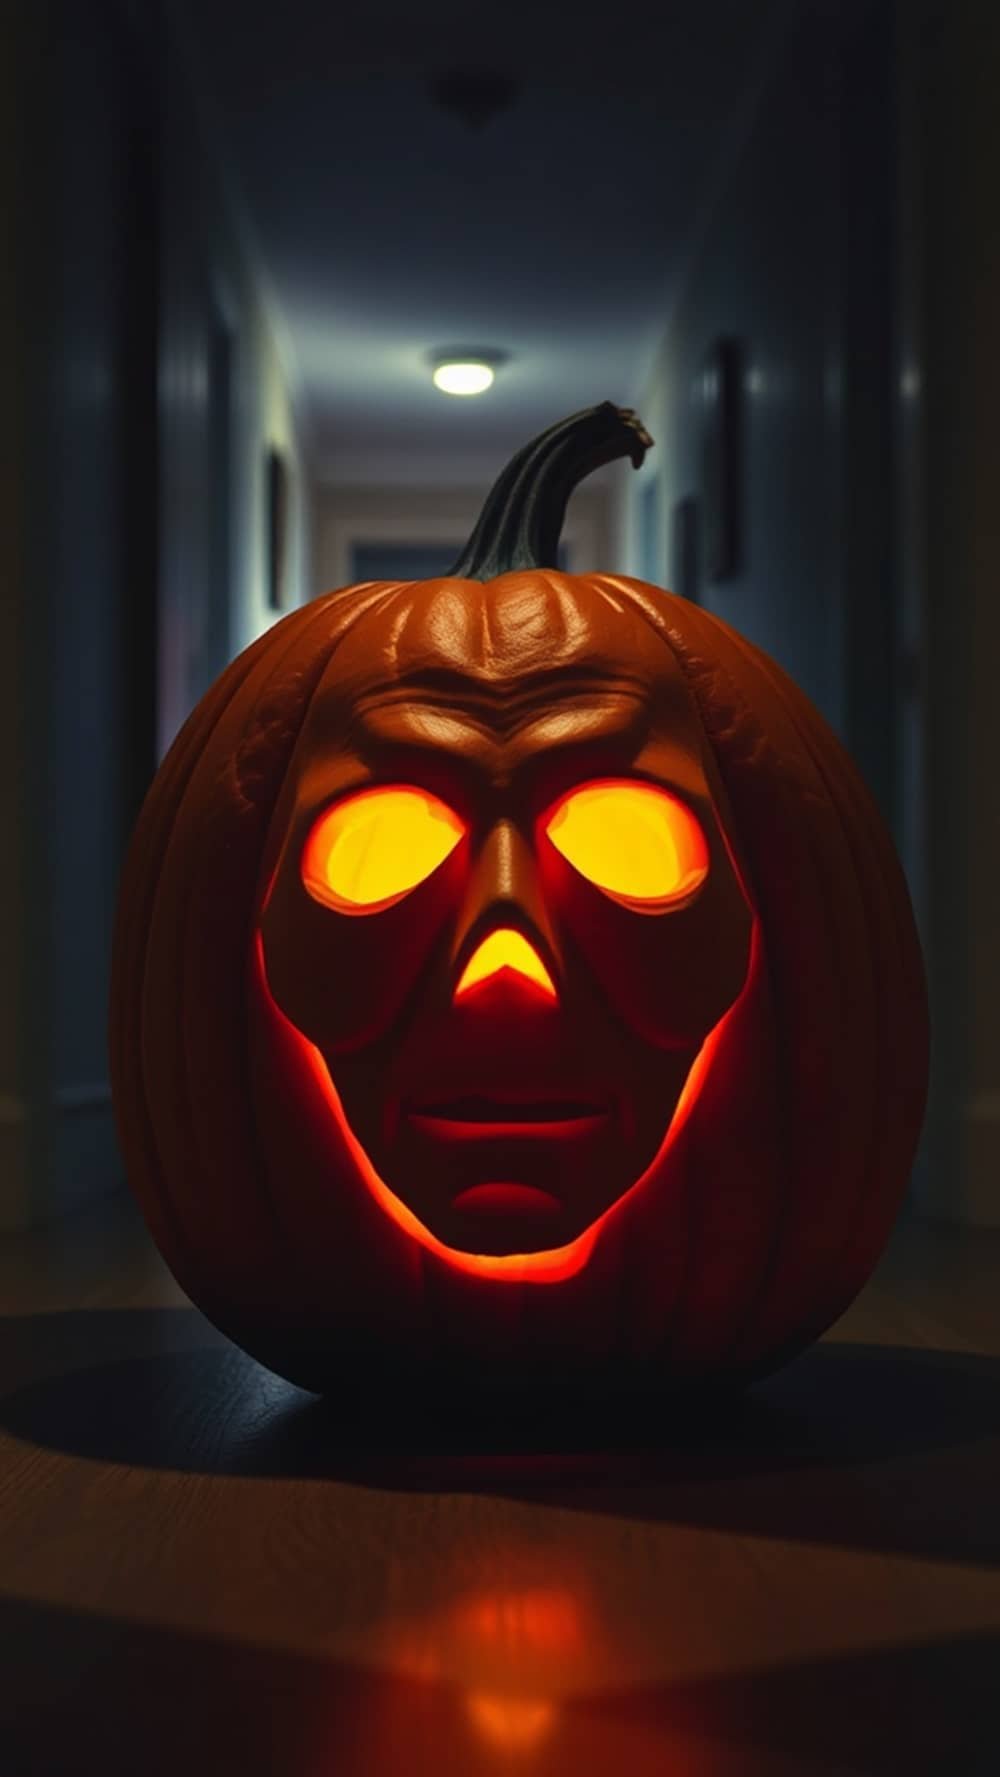
Michael Myers Pumpkin (Halloween)
- Choose a Pumpkin: Cut the top off and scoop out the insides.
- Draw Michael Myers’ Mask: Sketch his mask with hollow eyes.
- Carve the Design: Carefully carve out the mask features.
- Paint the Pumpkin: Use white paint for the mask and black for the eyes.
- Display: Place it in a dimly lit area for maximum scare factor.
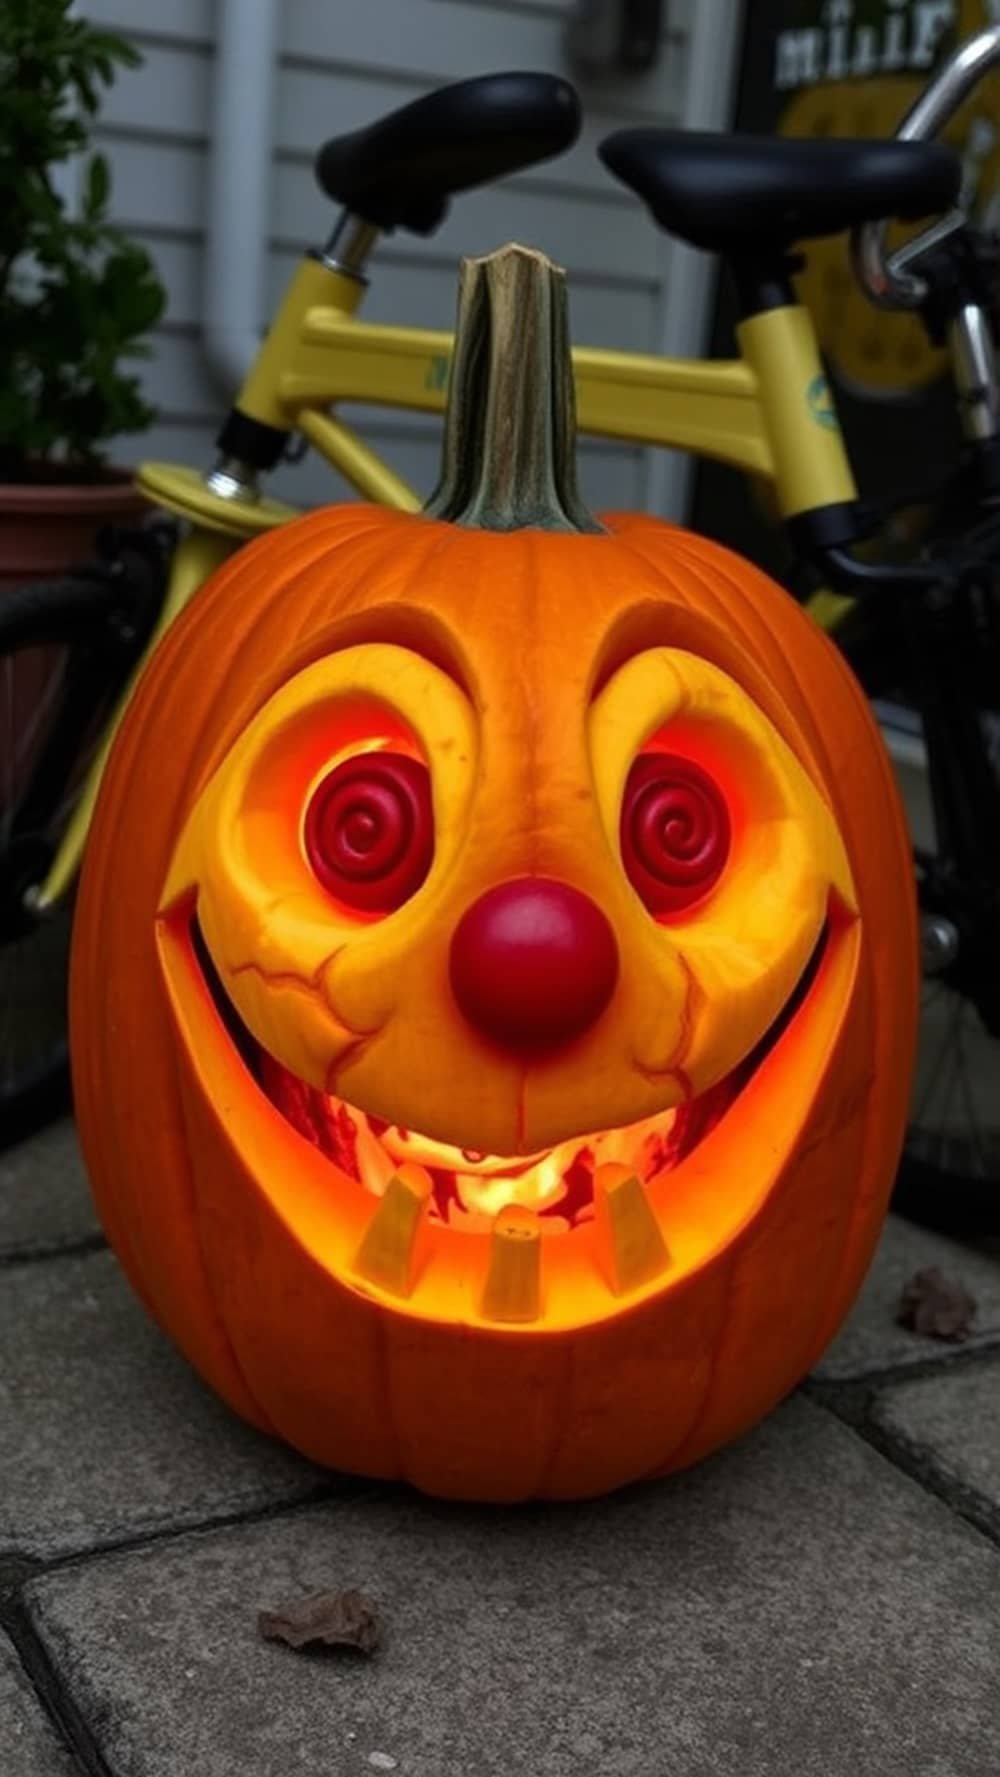
Jigsaw Pumpkin (Saw)
- Prepare the Pumpkin: Cut the lid and scoop out the insides.
- Draw Jigsaw’s Face: Sketch his face with the red spiral cheeks.
- Carve Carefully: Carve out the face, focusing on details.
- Paint the Spirals: Use red paint to create the spiral designs.
- Set the Scene: Place a toy tricycle next to the pumpkin for a chilling effect.
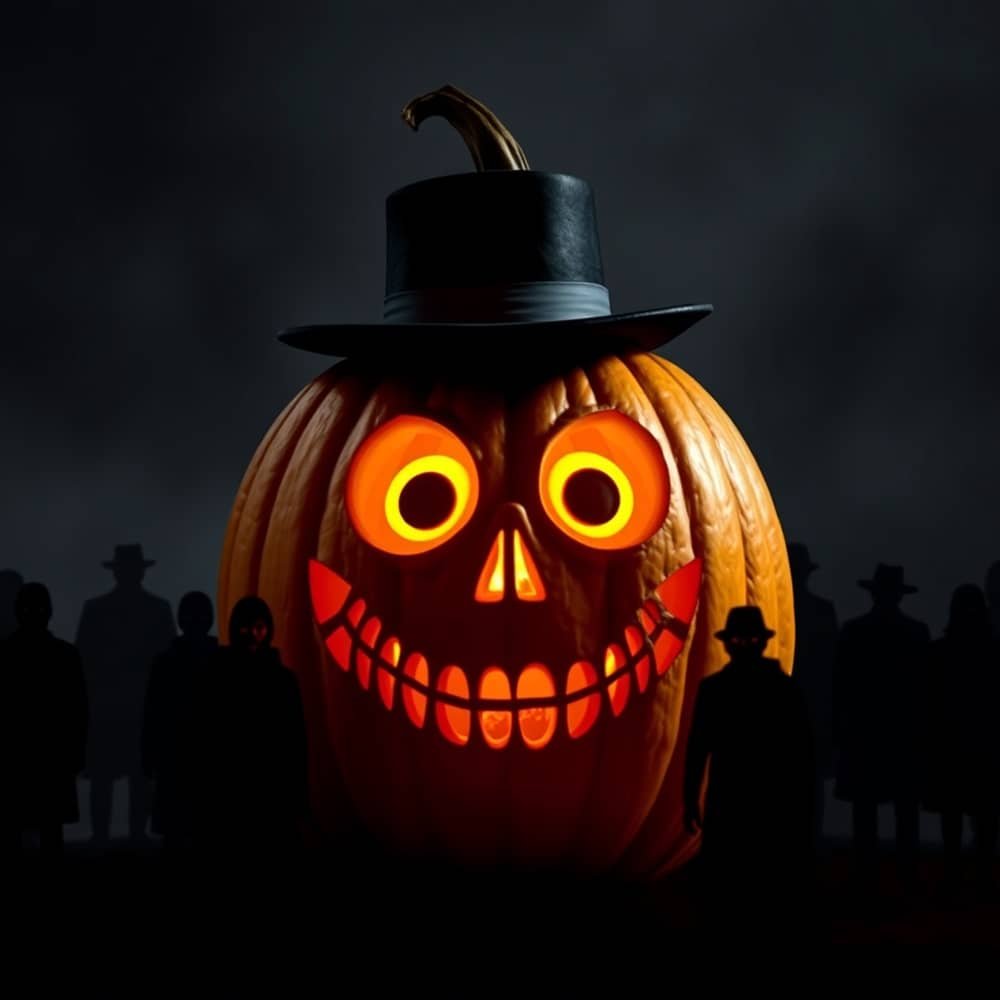
The Babadook Pumpkin
- Cut Off the Top: Prepare your pumpkin.
- Sketch the Babadook’s Face: Draw the face with a top hat.
- Carve the Design: Carve out the features.
- Paint the Hat: Use black paint to create the hat.
- Light It Up: Add an LED light to create a spooky atmosphere.
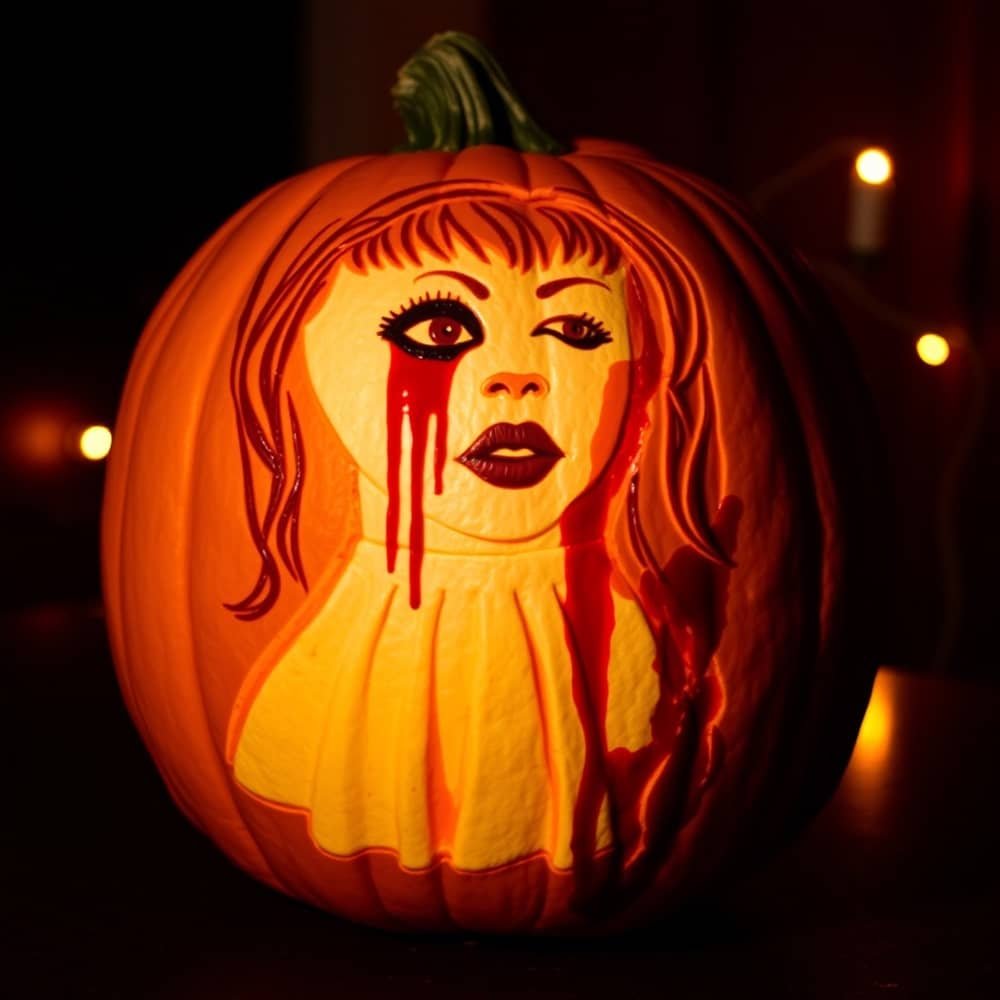
Carrie Pumpkin (Carrie)
- Cut the Top Off: Prepare your pumpkin.
- Sketch Carrie’s Face: Draw her terrified expression.
- Carve the Features: Carefully carve her face.
- Add Blood Splatter: Use red paint to mimic blood around the pumpkin.
- Display: Place in a prominent spot for maximum impact.
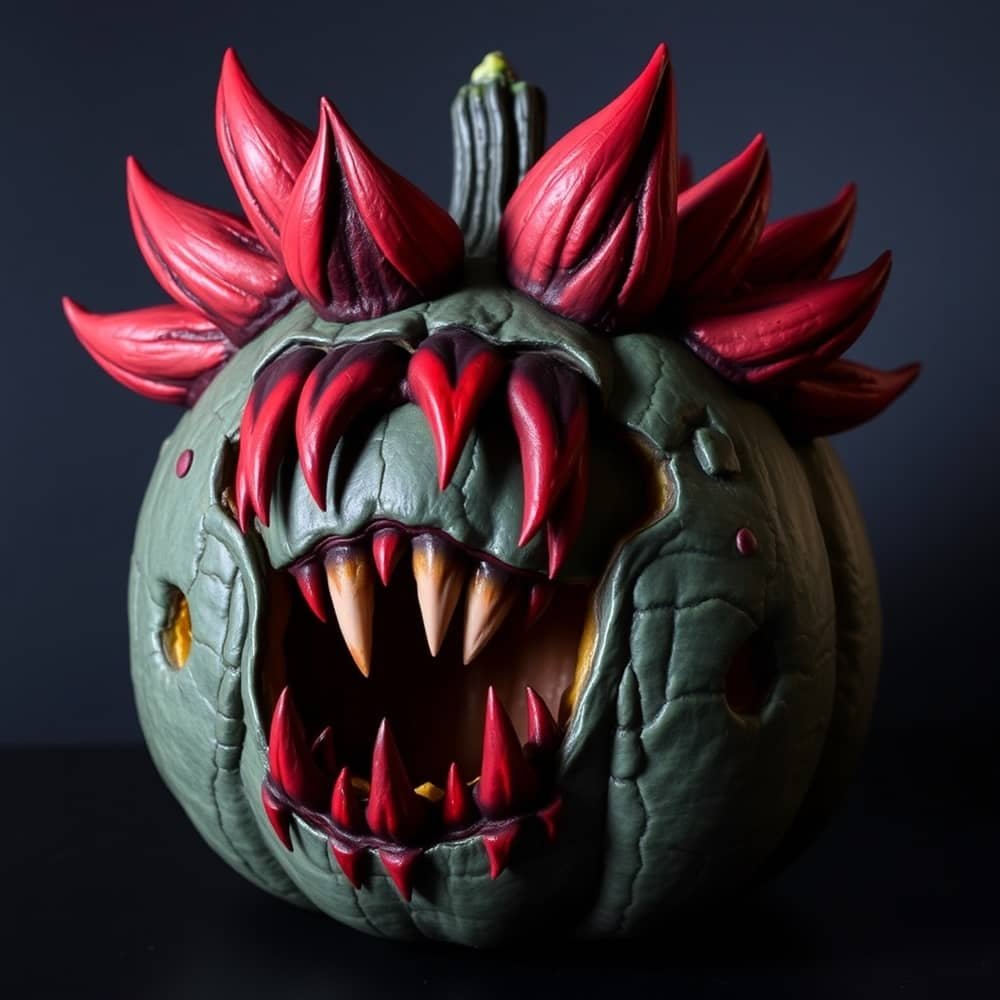
Stranger Things Demogorgon-inspired pumpkin Design
Materials Needed
- Medium to large pumpkin
- Acrylic paints (black, red, white, and dark shades)
- Paintbrushes (various sizes for details)
- Sculpting clay or modeling foam (optional, for added petal textures)
- Hot glue gun or strong adhesive
- Clear sealant spray (optional, for longevity)
Steps
Prepare the Pumpkin
- Clean the pumpkin to remove dirt and allow the paint to adhere better.
- Decide if you want a real carved pumpkin or if you prefer a solid one with only paint for a longer-lasting display.
Base Coat
- Paint the entire pumpkin black or dark red as a base. This sets the dark, eerie look. Let it dry thoroughly.
Create the Demogorgon “Petals”
- For the Demogorgon’s iconic petal-shaped face, you can sculpt four or five large “petals” out of modeling clay or foam. Shape each petal with pointed edges and subtle ridges for texture.
- Once shaped, paint them dark red or a deep, blood-like color.
Attach the Petals
- Use a hot glue gun to attach the petals around the pumpkin’s center, arranging them in a way that looks like they are opening around the “mouth.”
- Position each petal slightly outward to mimic the Demogorgon’s signature open face.
Paint the Mouth and Teeth
- In the center of the petals, paint a large, gaping mouth in dark red or black. For a realistic effect, add some white teeth with jagged edges around the mouth’s edge, using bright white and a hint of yellow or red for detail.
- Add tiny veins or texture lines around the mouth area to give it a sinister, raw look.
Add Details and Shading
- Use darker shades like black and gray around the petals to create depth and shadow, especially near the base of the petals.
- Paint subtle blood spatters or dripping effects around the mouth using red paint.
Final Touches
- For a wet, fresh look, add a clear coat over the mouth area or use a bit of gloss glaze for realism.
- Optionally, spray the pumpkin with a clear sealant to protect it.
Set the Scene
- Place the pumpkin in a dim or foggy setting for maximum effect, and consider lighting it from below with a small red or orange LED light to enhance its creepy appearance.
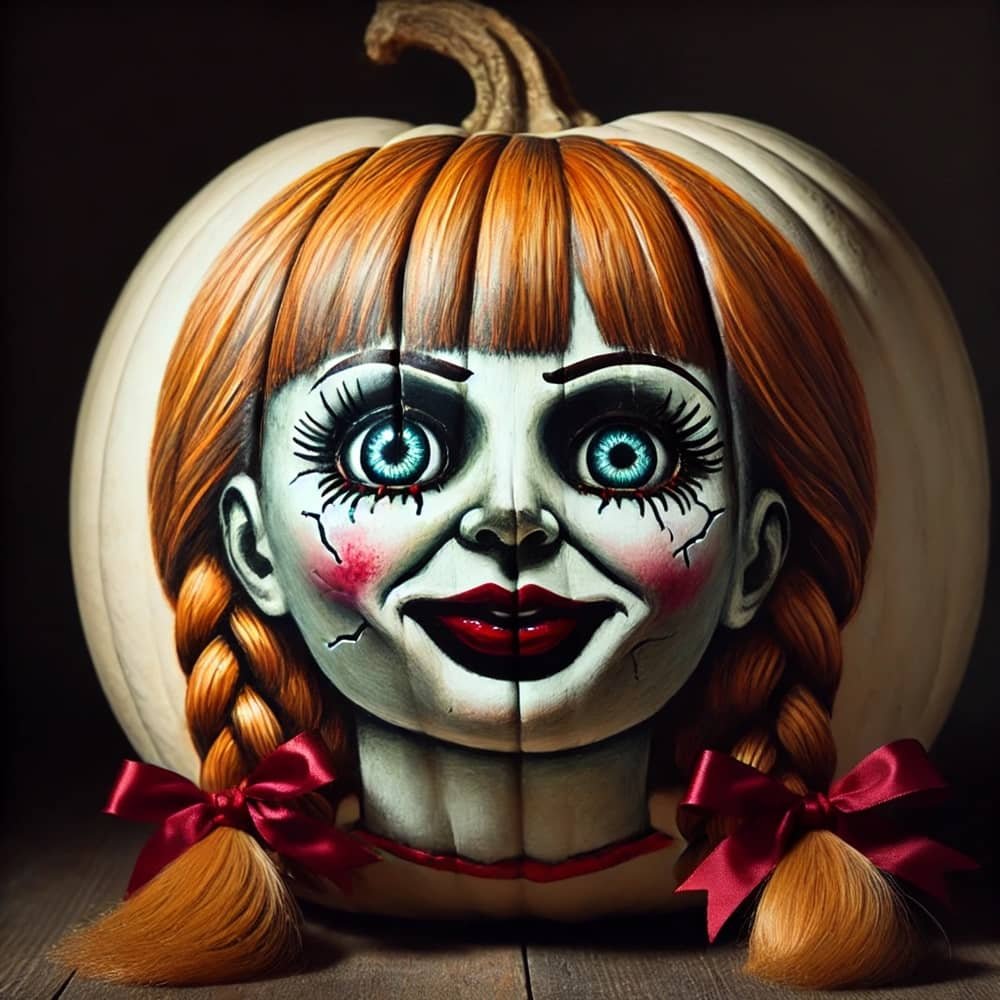
Annabelle doll-inspired pumpkin for Halloween
Here’s a step-by-step guide to create an Annabelle doll-inspired pumpkin for Halloween:
Materials Needed
- Medium to large pumpkin
- Acrylic paints (white, skin-tone, red, black, and brown)
- Paintbrushes (various sizes, including fine brushes for detail)
- Modeling clay (optional, for hair details)
- Red yarn or synthetic hair (for braids)
- Hot glue gun or strong adhesive
- Clear sealant spray (optional, for finish)
Steps:
Prepare the Pumpkin
- Clean the pumpkin to remove any dirt, and let it dry.
- If using a real pumpkin, consider whether you want it hollow or solid. If hollowed, it will last shorter but could accommodate a light inside.
Apply the Base Paint
- Paint the entire pumpkin a pale or porcelain-white shade to mimic a doll’s skin. This will make it look vintage and eerie. Let it dry fully before moving on.
Paint Annabelle’s Face
- Eyes: Use a fine brush to paint large, round, lifelike eyes, placing them higher on the pumpkin for a doll-like appearance. Add dark circles around them with gray or light brown to create a haunted look, and paint the iris a bright color (blue or green).
- Eyebrows and Eyelashes: Paint thin, dark brows and add small, faint eyelash lines for realism.
- Nose: Lightly paint a small, defined nose using soft shading, focusing on shadows rather than defined lines.
- Mouth: Paint a twisted, creepy smile in deep red or dark brown. Add a faint outline and small, subtle cracks around the lips to mimic cracked porcelain.
Add Cracks and Details
- With a fine brush and dark gray paint, create tiny cracks radiating from the eyes and mouth to give a worn, sinister look. Use a small, detailed brush for these lines.
- Add shading around the face to enhance shadows for a creepy, lifelike effect.
Attach Annabelle’s Hair
- Take red yarn or synthetic hair and braid two sections to create Annabelle’s iconic pigtails.
- Attach the braids to either side of the pumpkin using a hot glue gun. You can paint parts of the pumpkin red or brown where the braids are attached to create the illusion of hair roots.
Final Details
- Lightly brush over the entire face with a matte sealant or clear glaze for a slightly glossy, porcelain-like finish.
- If desired, add blush to the cheeks with light pink paint for extra realism.
Set the Scene
- Place your Annabelle-inspired pumpkin in a dim or softly lit area for maximum effect. For an extra scare, position an LED light beneath or behind it to cast an eerie glow.
Creative Halloween Pumpkin Ideas to Spook Up Your Home
Hello, creative moms! With Halloween approaching, let’s tap into our creative side and turn those regular pumpkins into eerie works of art! If you like carving, painting, or creating, I have some fantastic ideas to help your home stand out in the neighborhood. Get your tools and let’s begin!
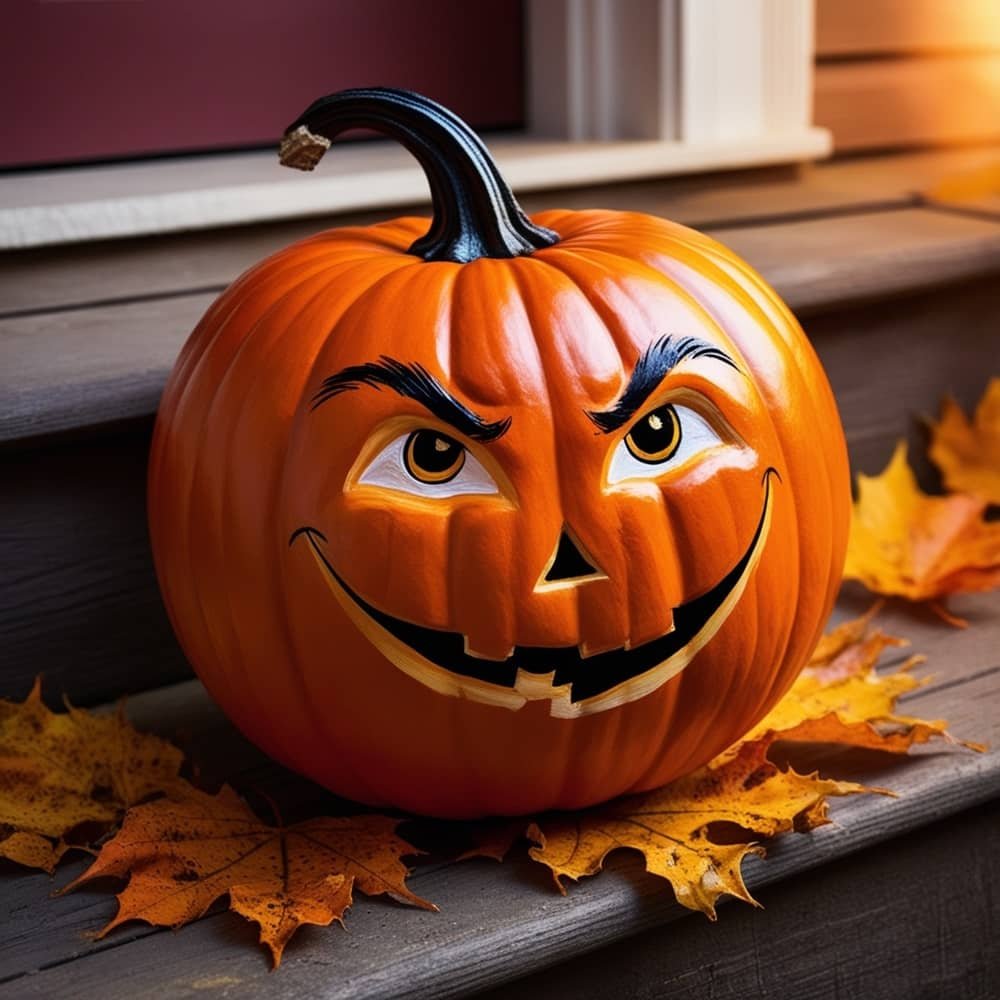
Classic Jack-o’-Lantern
- Select Your Pumpkin: Choose a medium-sized pumpkin with a smooth surface and a sturdy stem.
- Cut the Top: Use a sharp knife to carefully cut off the top in a circular shape, creating a lid. Ensure the opening is large enough to scoop out the insides easily.
- Scoop Out Seeds and Pulp: Use a spoon or pumpkin scoop to remove all the seeds and stringy pulp from inside. Make sure to scrape the walls clean to create a good surface for carving.
- Carve the Face: Use a carving kit or a small knife to carve a spooky face. Focus on sharp teeth and large, exaggerated eyes for an eerie effect. Consider using a stencil for precision.
- Add Light: Place a candle or LED light inside the pumpkin. If using a candle, make sure the top is vented to allow heat to escape. Light it up and enjoy the glow!
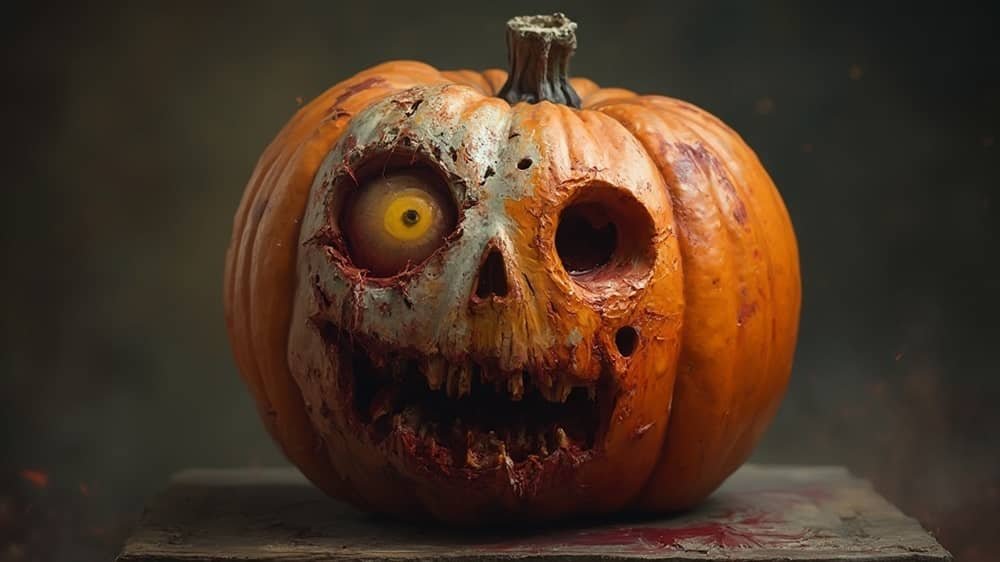
Zombie Pumpkin
- Base Coat: Paint the entire pumpkin a sickly green or gray using acrylic paint. Allow it to dry completely.
- Detailing: Use black and red paint to add details such as stitches, scars, and a gaping mouth. For stitches, draw thin lines across the pumpkin, and use red to create a bloody effect around scars.
- Texture: Use a sponge or brush to add texture, making it look like decaying skin. For extra detail, consider using modeling paste to create raised areas.
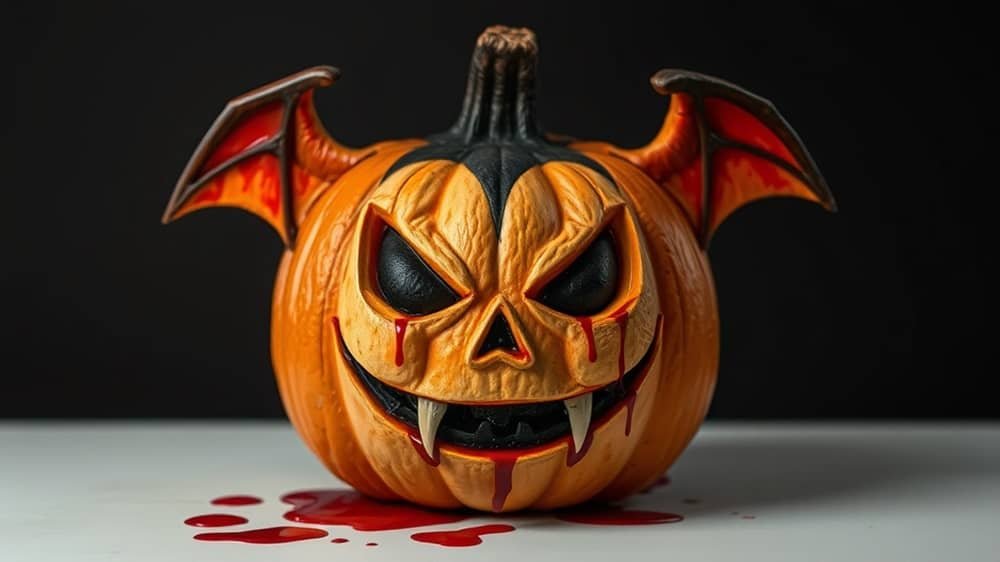
Vampire Pumpkin
- Base Coat: Paint the pumpkin dark red or black for a dramatic effect.
- Fangs and Grin: Use white paint to add large fangs and a menacing grin. You can also use a sponge to create a textured look for the fangs.
- Blood Drips: Create dripping blood effects using red paint around the mouth and fangs. Let it drip down the sides for a spooky look.
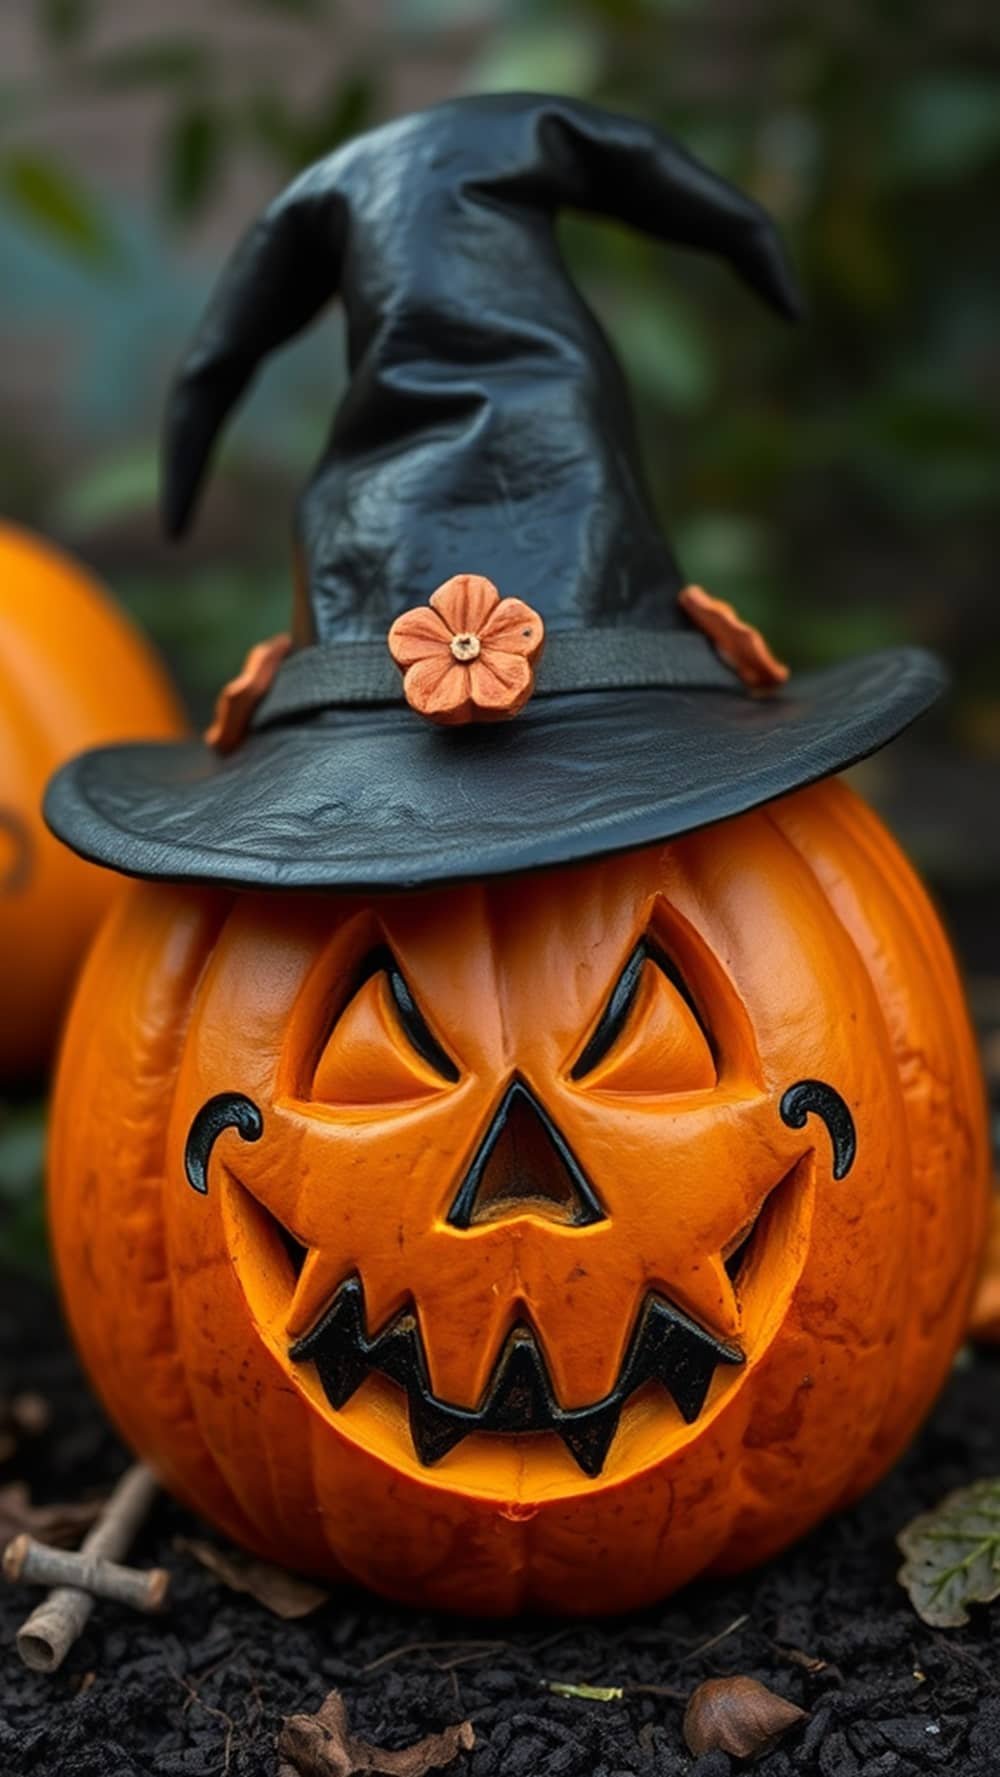
Witch Pumpkin
- Skin Tone: Paint the pumpkin a vibrant green to represent the witch’s skin.
- Hat Creation: Cut out a witch’s hat from black paper or cardboard, or paint it directly on the pumpkin. Use a pointed shape for authenticity.
- Facial Features: Add features like a crooked nose and warts using brown and yellow paint. You can also glue on small rocks or dried peas for extra texture.
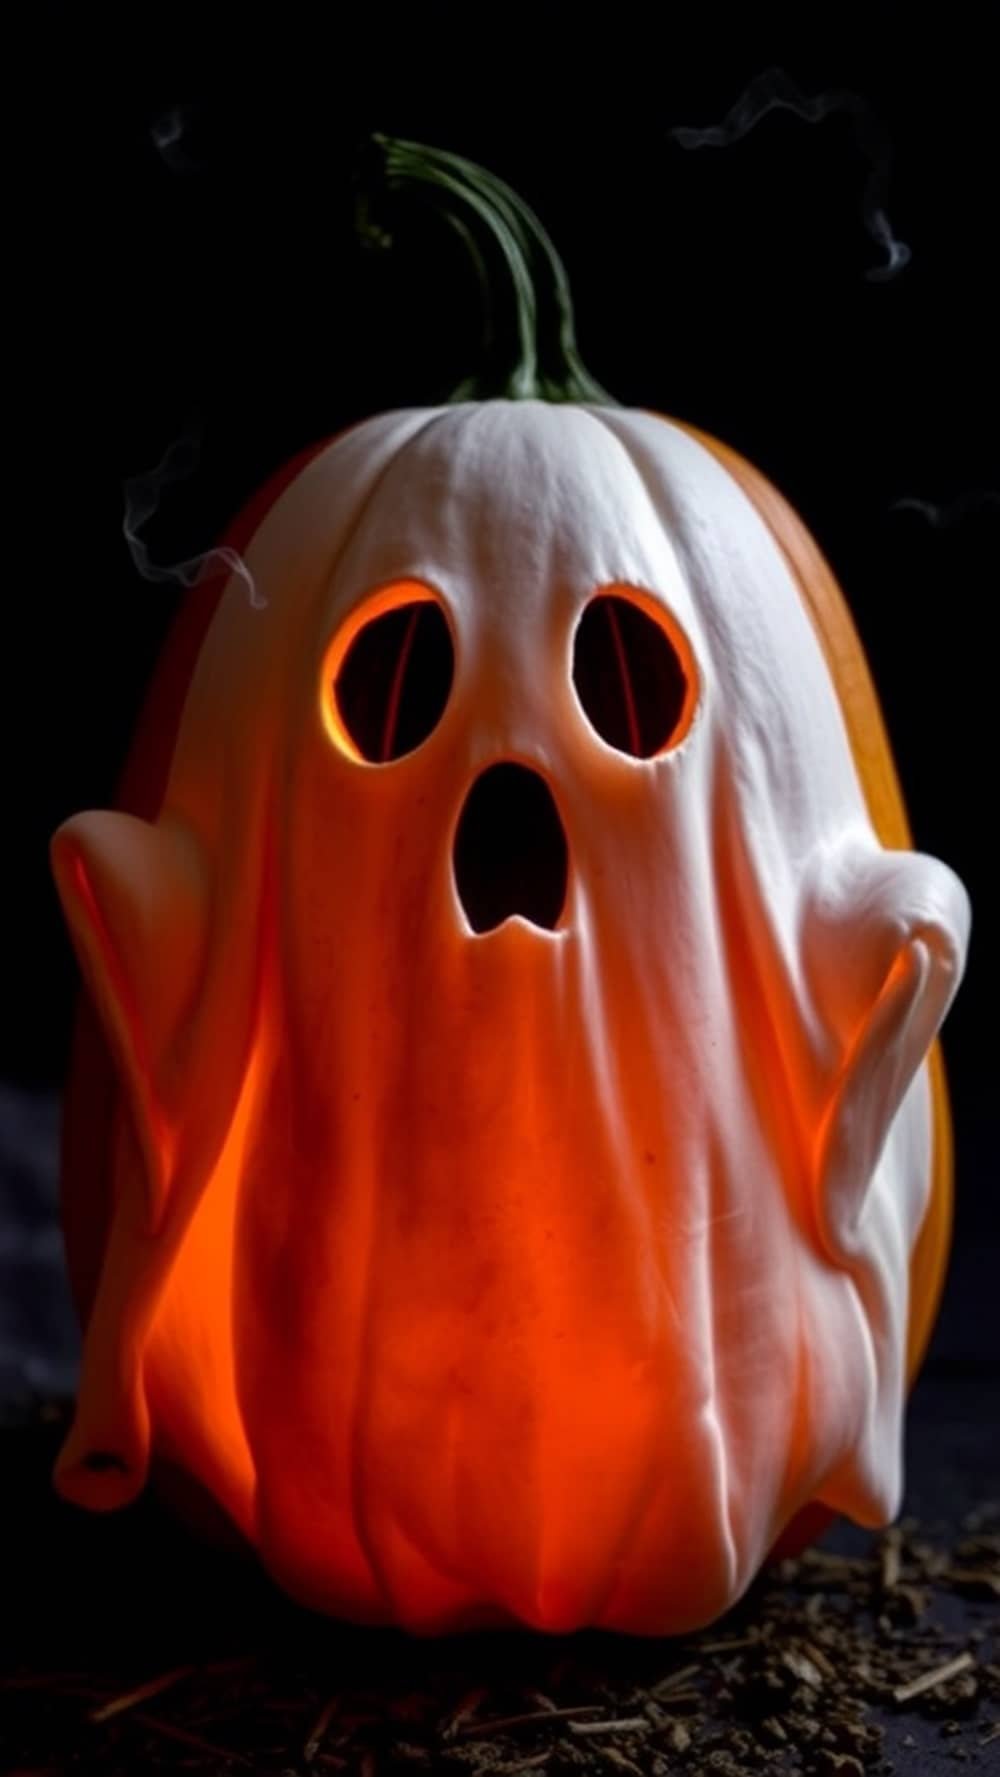
Ghostly Pumpkin
- Base Coat: Paint the pumpkin white or pale gray for a ghostly appearance.
- Ghost Face: Use black paint to create large, hollow eyes and a gaping mouth. Consider using a sponge for a soft, ethereal look.
- Floating Effect: Use a brush to add wispy lines around the edges of the pumpkin to simulate a floating ghost effect.
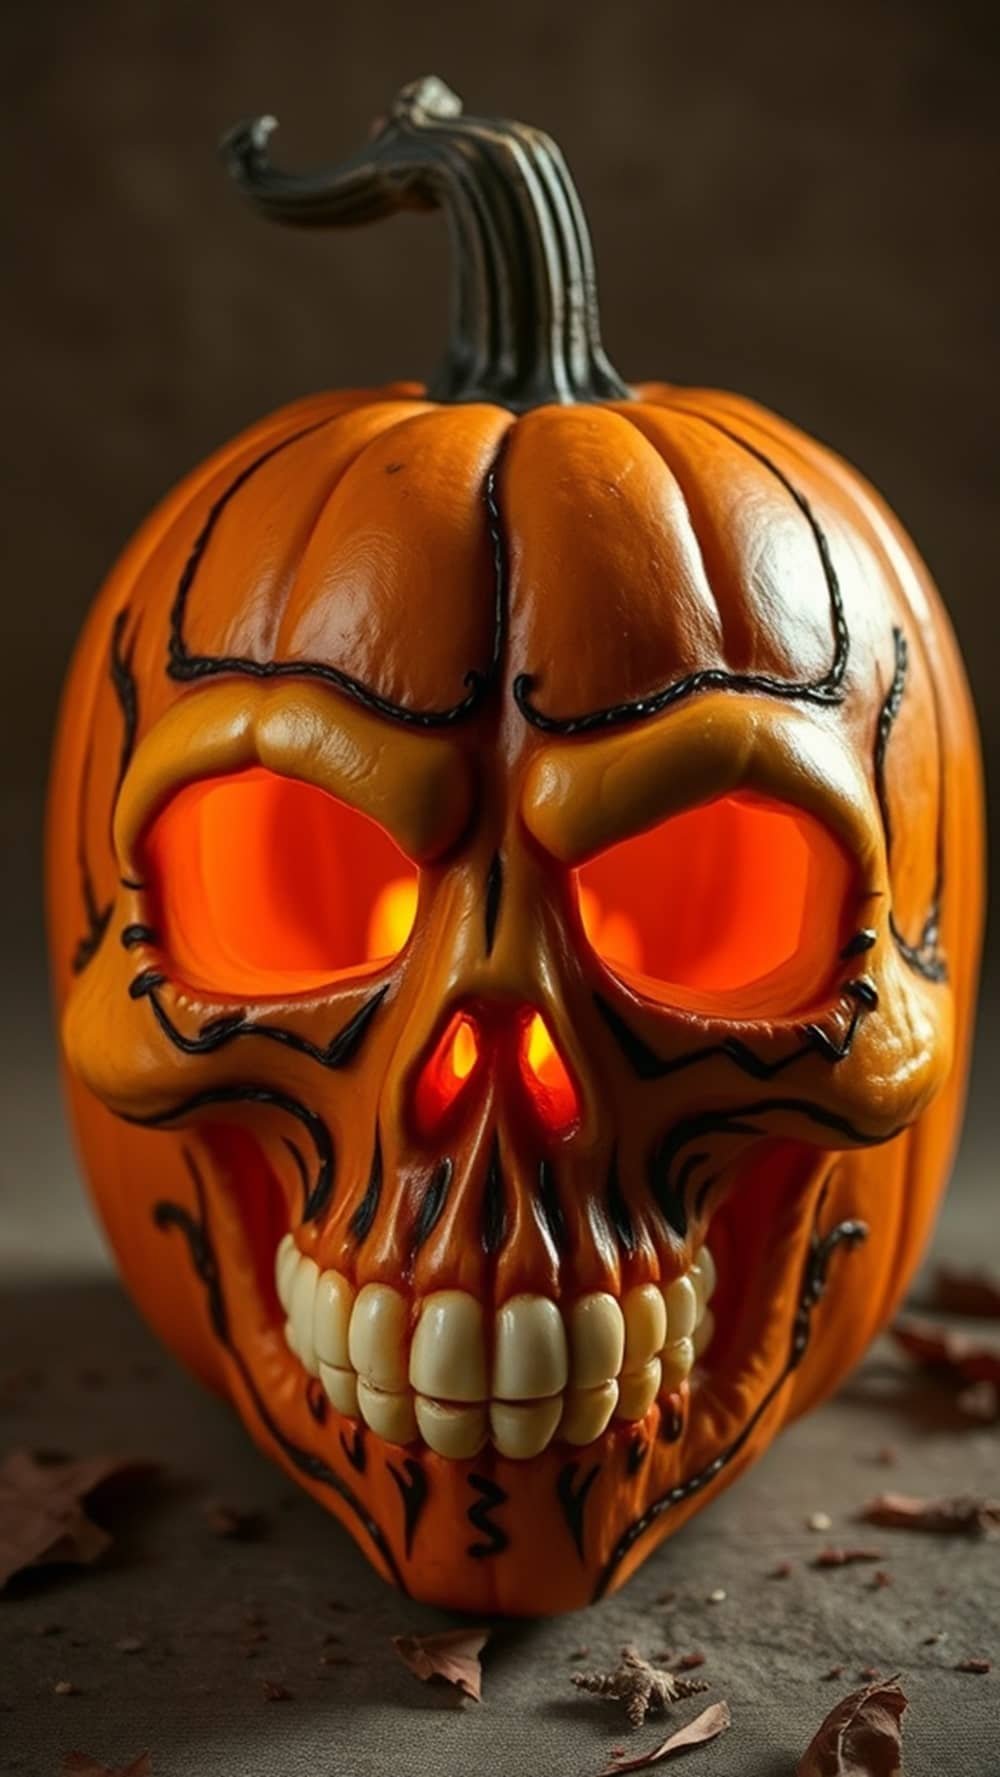
Skull Pumpkin
- Base Coat: Paint the pumpkin white or light gray.
- Skull Features: Use black paint to outline the skull features such as teeth and eye sockets. Make sure to add cracks and lines to give it a weathered look.
- Depth: Incorporate shadows using gray or black paint around the eye sockets and jawline for added depth.
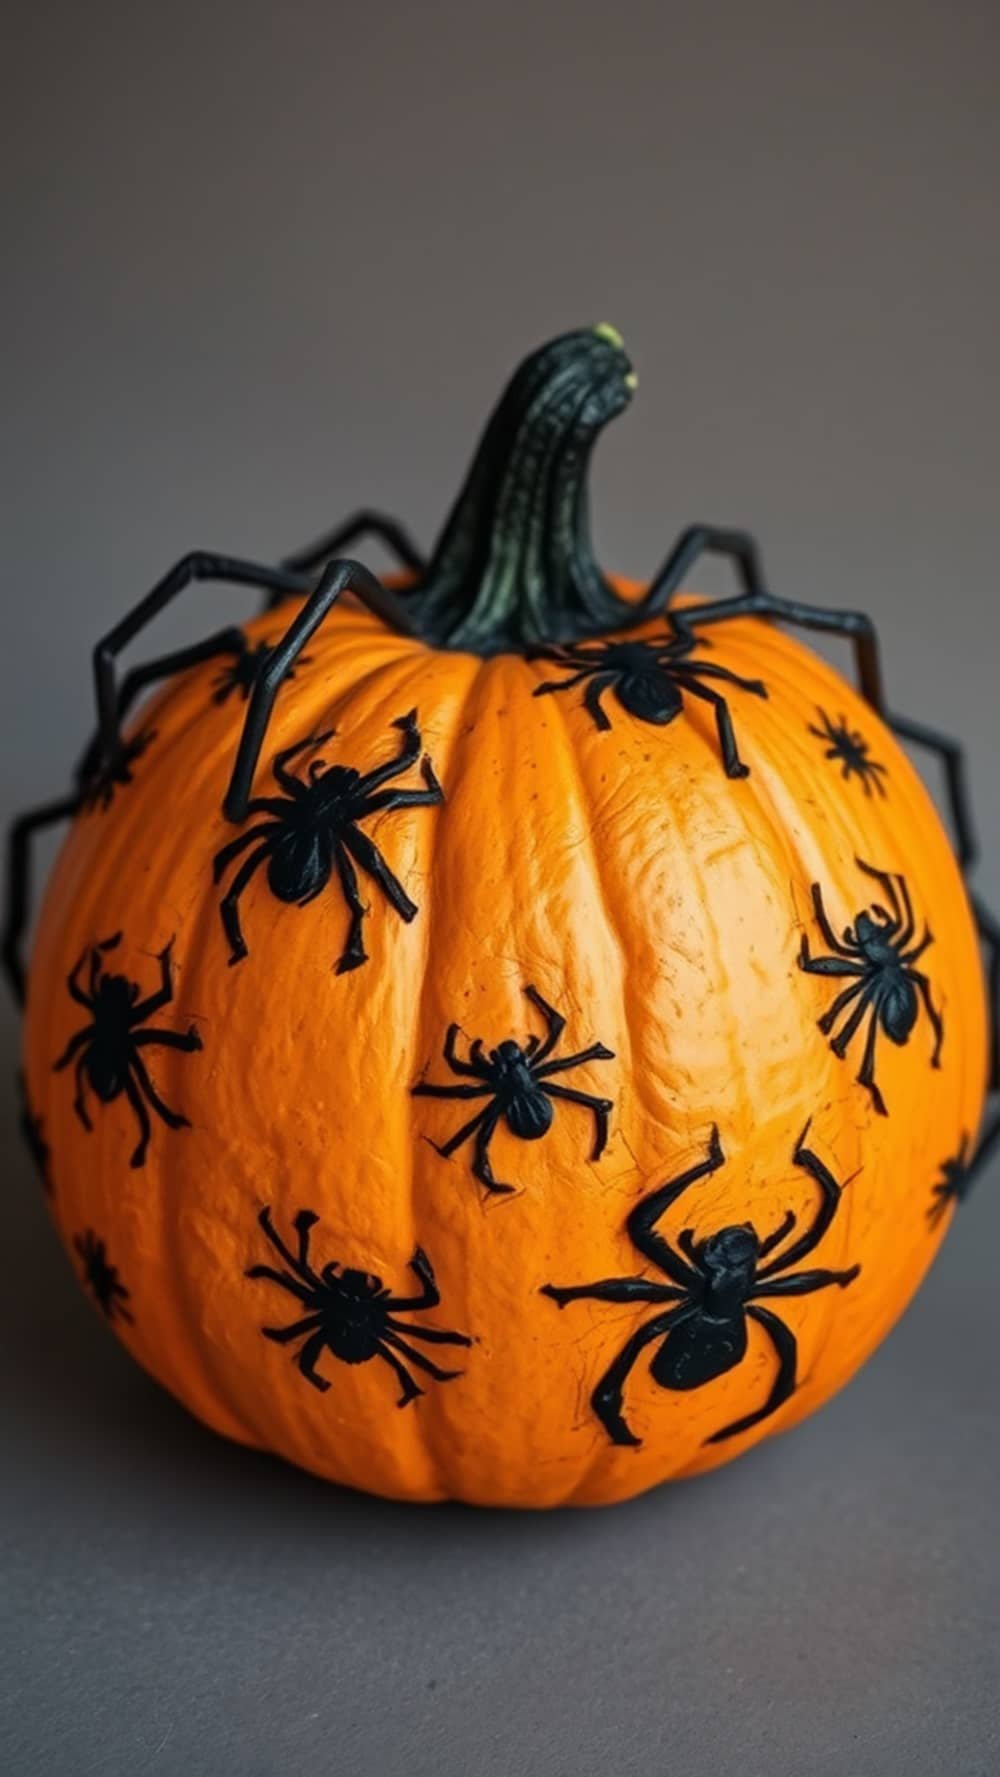
Creepy Spider Pumpkin
- Base Coat: Paint the pumpkin bright orange.
- Spider Creation: Use black paint to draw spiders of various sizes crawling across the surface. For a 3D effect, you can use plastic spiders or pipe cleaners.
- Webs: Create spider webs using white paint or string. You can stretch the string across the pumpkin for a realistic look.
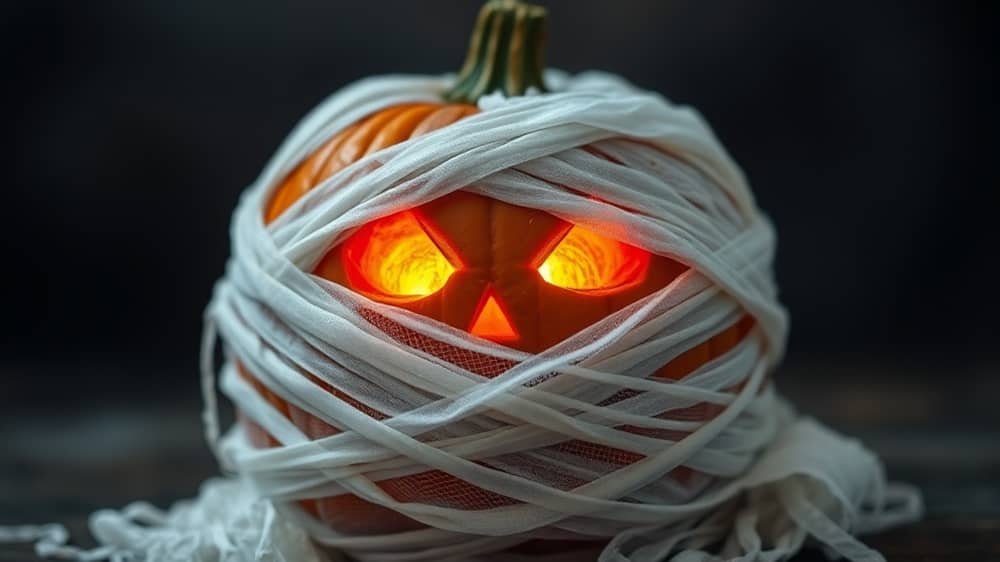
Mummy Pumpkin
- Wrap the Pumpkin: Wrap the pumpkin in white gauze or strips of fabric. Leave gaps for the eyes to peek through.
- Paint the Eyes: Use bright yellow or green paint to create eyes that pop against the white gauze.
- Fake Blood: Add a few drops of fake blood around the eyes or on the gauze for an extra spooky touch.
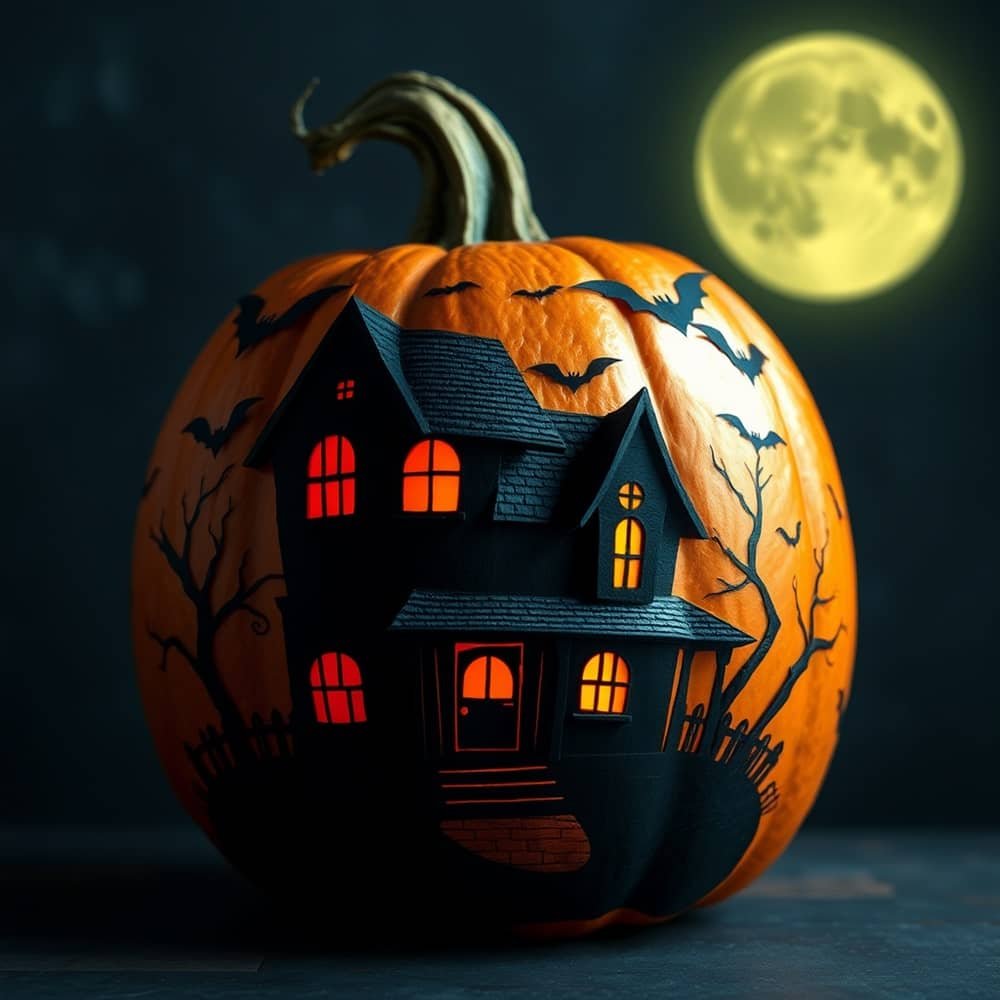
Haunted House Pumpkin
- Base Coat: Paint the entire pumpkin black.
- Haunted House Silhouette: Use a stencil or freehand a haunted house silhouette using white or yellow paint. Include details like windows and doors.
- Glowing Moon: Paint a large moon behind the haunted house, using a bright yellow or white color.
- Bats: Add bats flying in the night sky using black paint or cut-outs that you can attach to the pumpkin.
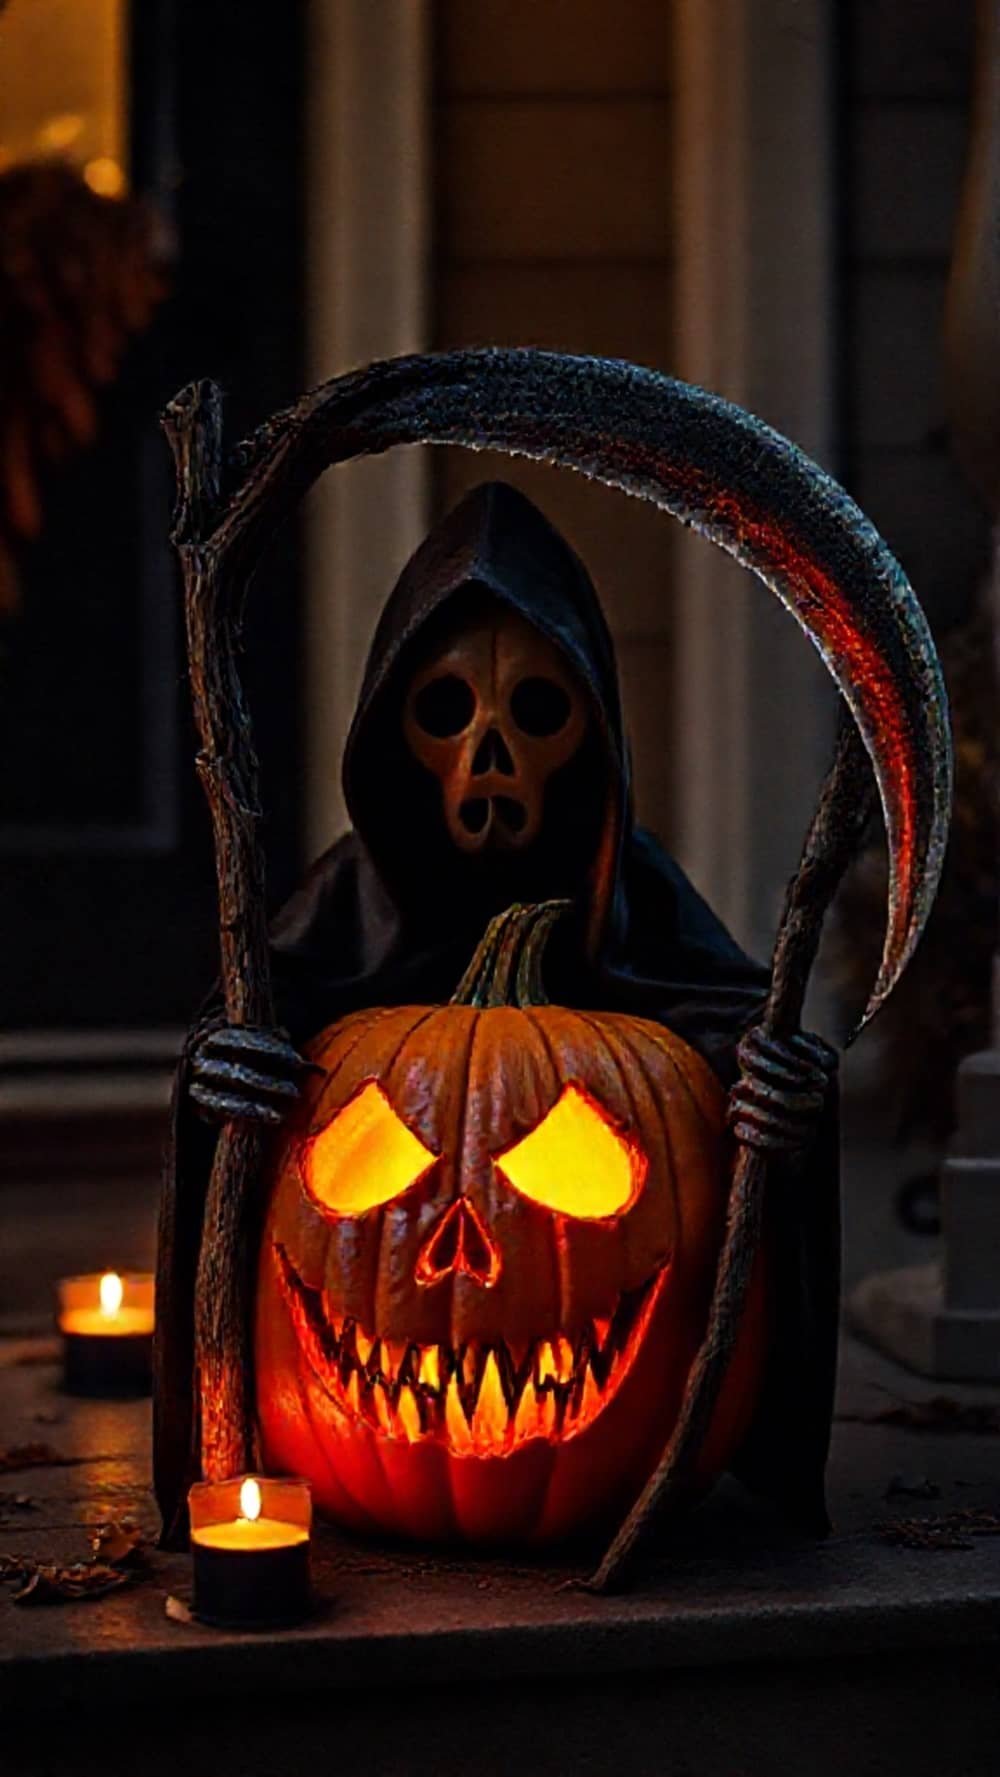
Grim Reaper Pumpkin
- Base Coat: Paint the pumpkin black or dark purple.
- Skeletal Face: Use white paint to create a skeletal face. Focus on the eye sockets and the structure of the skull.
- Hood and Scythe: Add a flowing hood around the top of the pumpkin using black paint or fabric. Create a scythe by drawing it on paper and attaching it, or paint it directly onto the pumpkin for added detail.
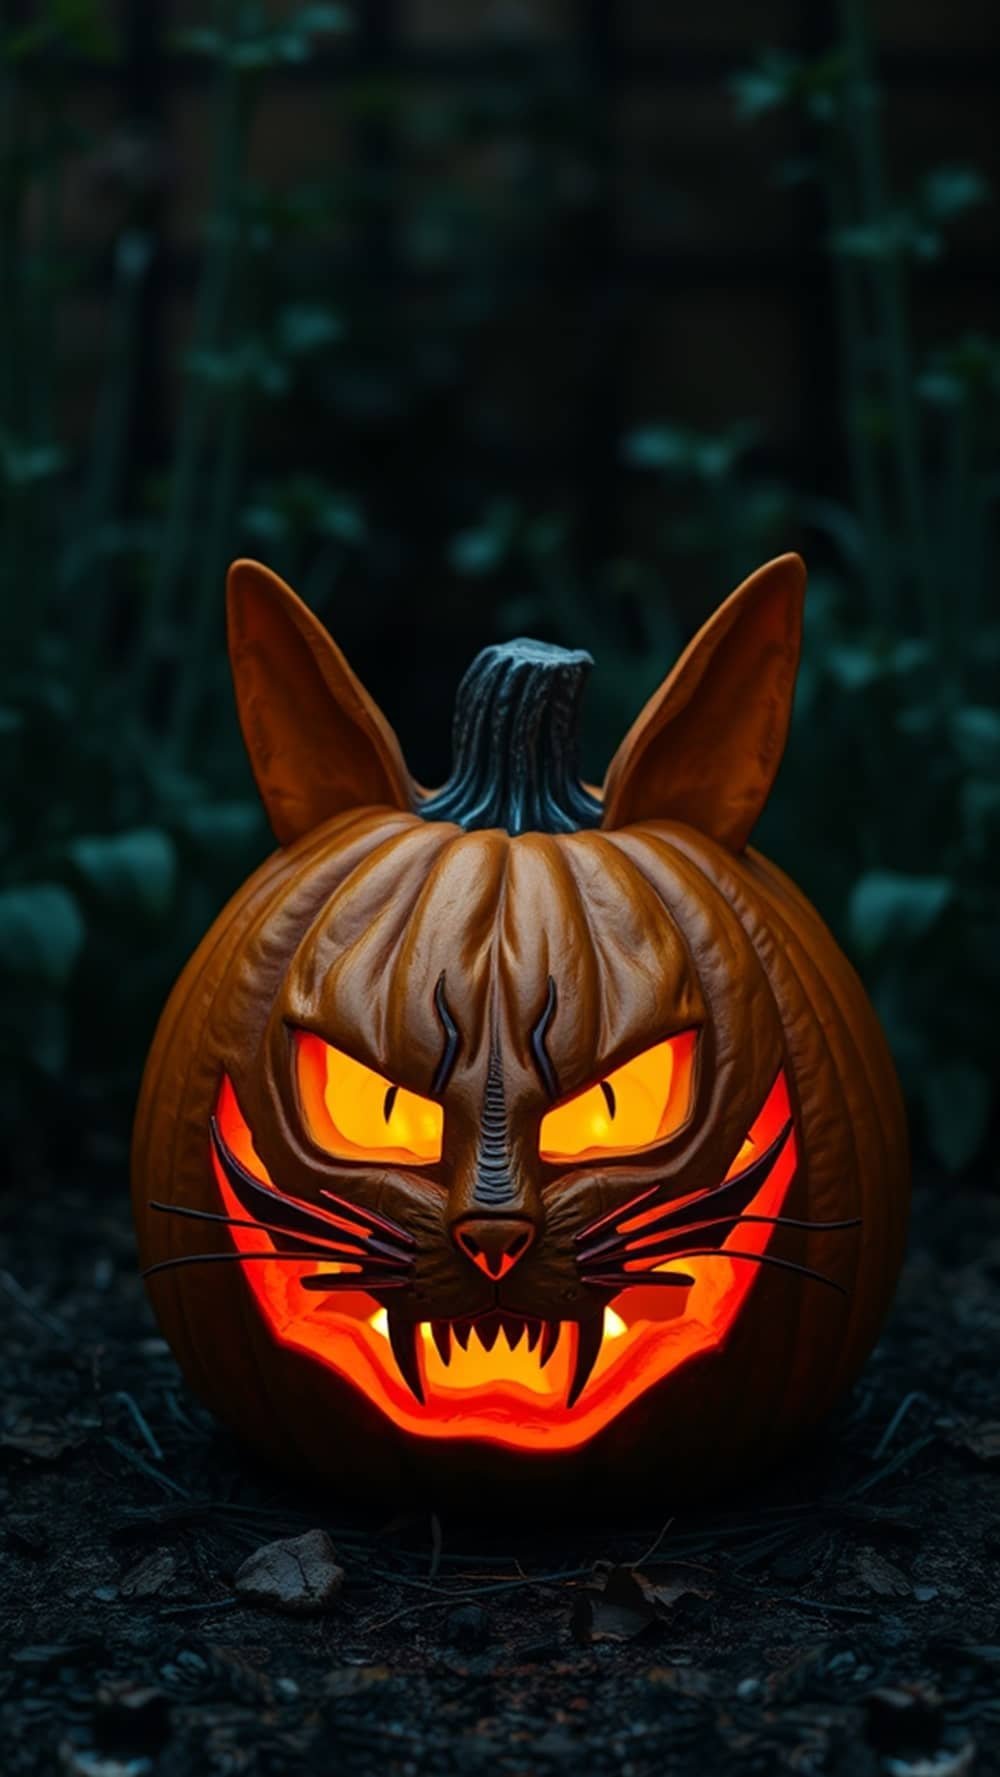
Haunting Cat Pumpkin
Give your pumpkin a feline twist with this haunting cat design!
- Choose Your Pumpkin: Pick a medium-sized pumpkin with a smooth surface. A round shape works great for this design.
- Paint the Base: Start with a black base coat to give your cat that mysterious vibe. Let it dry completely.
- Cat Features: Use white or yellow paint to create the eyes, nose, and whiskers. For the ears, you can cut out triangles from black paper and attach them to the top of the pumpkin.
- Add Spooky Details: Consider painting some eerie designs around the body, like crescent moons or stars, to enhance that haunting look.
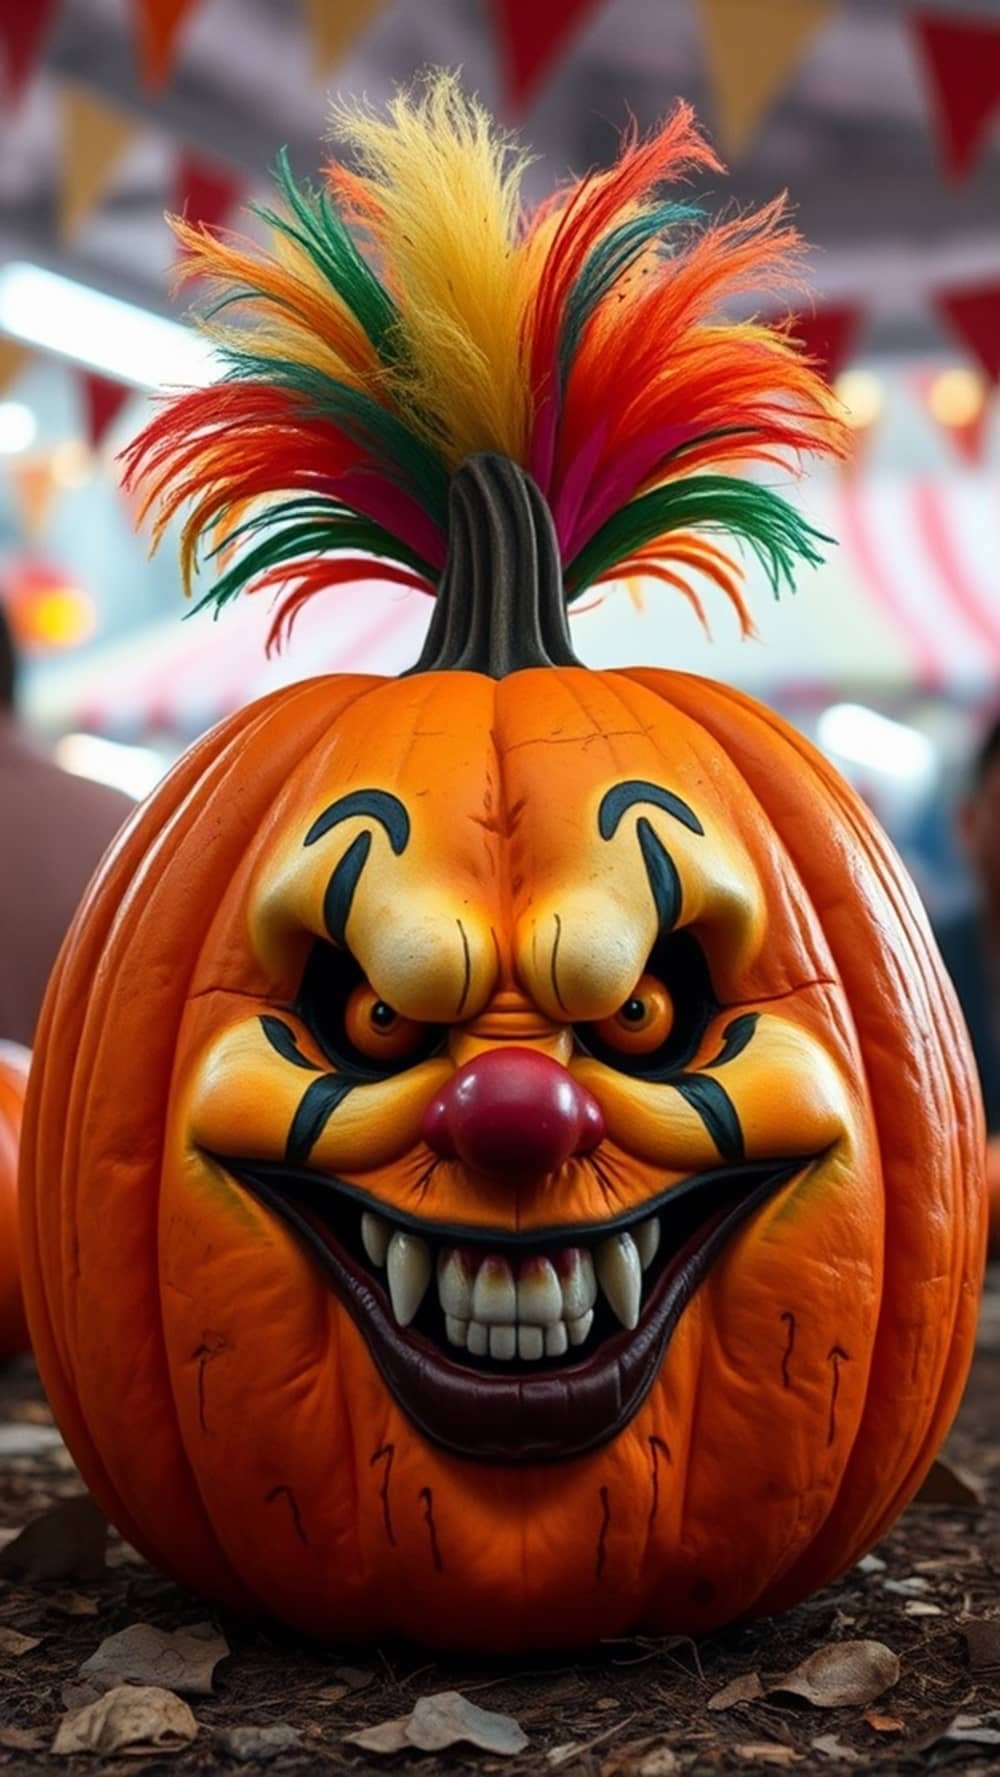
Creepy Clown Pumpkin
Embrace the fright with a creepy clown pumpkin that will send shivers down spines!
- Base Coat: Start with a bright white or pale yellow base coat. Let it dry.
- Clown Face: Use bold colors like red and blue to paint a big smile, exaggerated eyebrows, and colorful hair. You can use sponges for a fun texture!
- Creepy Touches: Add in details like tear stains or blood drops using red paint to make your clown extra spooky. Don’t forget those iconic big shoes—draw or paint them at the bottom of your pumpkin!
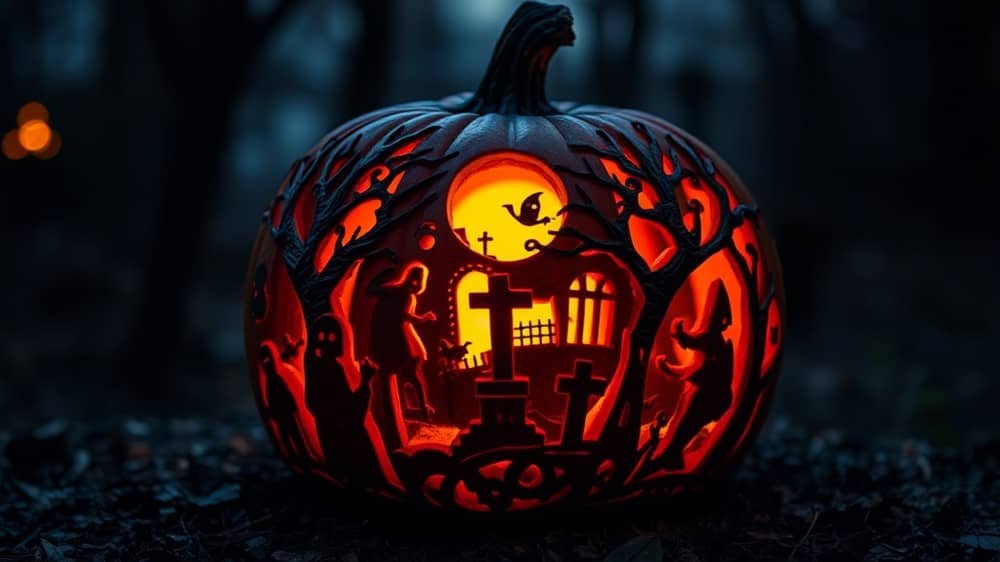
Eerie Graveyard Pumpkin
Create a pumpkin that tells a story with an eerie graveyard scene!
- Paint the Base: Start with a dark gray or black paint to set the mood.
- Graveyard Scene: Using black paint, add tombstones, trees, and a spooky moon. Use stencils if you need help with shapes.
- Glow-in-the-Dark Details: For an extra eerie effect, use glow-in-the-dark paint to highlight the tombstones or add ghostly figures. Your pumpkin will come to life when the lights go out!
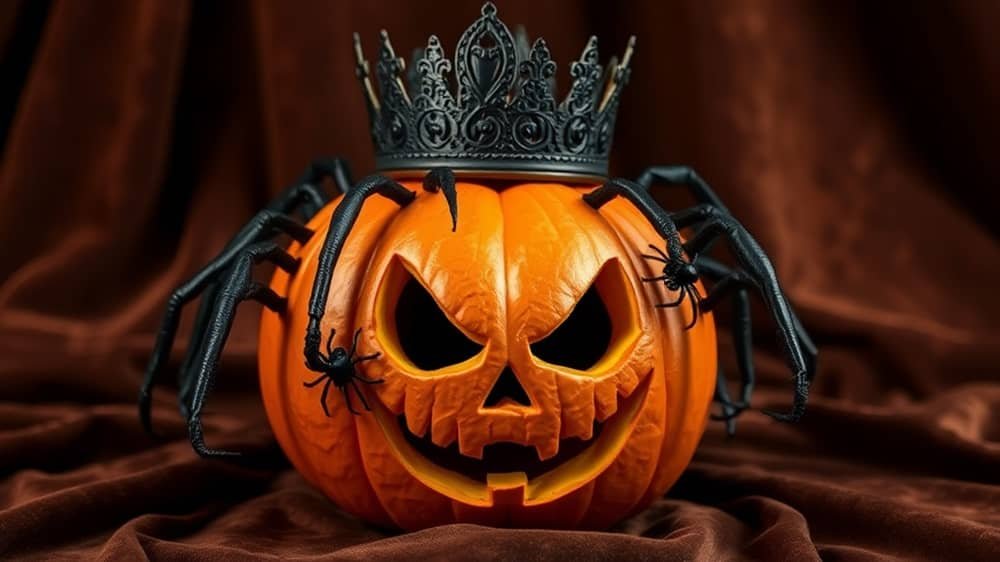
Spider Queen Pumpkin
Let’s channel the queen of the spiders with this intricate design!
- Base Coat: Paint the pumpkin a dark color, like deep purple or black.
- Spider Webs: Use white paint or string to create intricate spider webs all over the pumpkin’s surface. You can even add some plastic spiders crawling through the webs for a 3D effect.
- Crowning Glory: Use glitter or metallic paint to create a crown at the top of the pumpkin, symbolizing the Spider Queen. This will add a royal touch to your creepy creation!
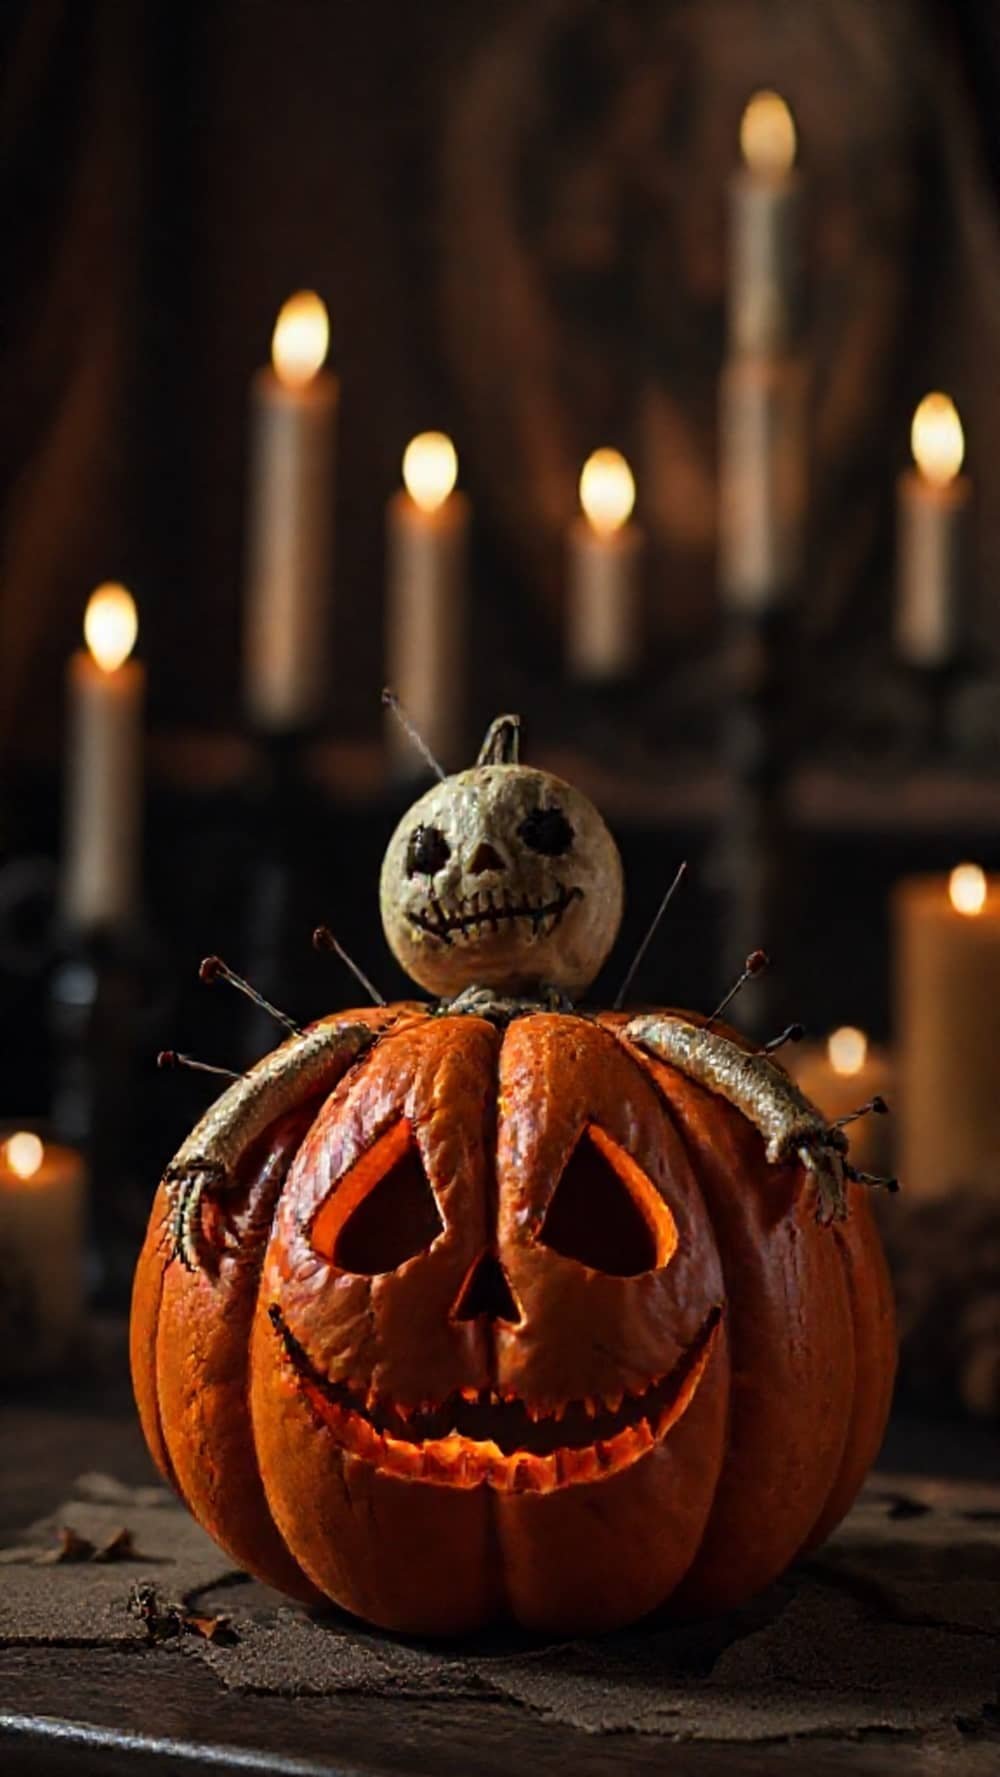
Bring a touch of mystique to your Halloween with a voodoo doll pumpkin!
- Base Coat: Start with a neutral color like beige or light brown to mimic the look of fabric.
- Stitching: Use a black marker or paint to draw stitches all over the pumpkin, creating a patchwork effect. Don’t worry about making it perfect—an imperfect look adds to the charm!
- Add Pins: For a fun and spooky touch, stick some colorful sewing pins into the pumpkin to represent voodoo doll pins. You can even create small buttons out of paper and glue them on for added detail.
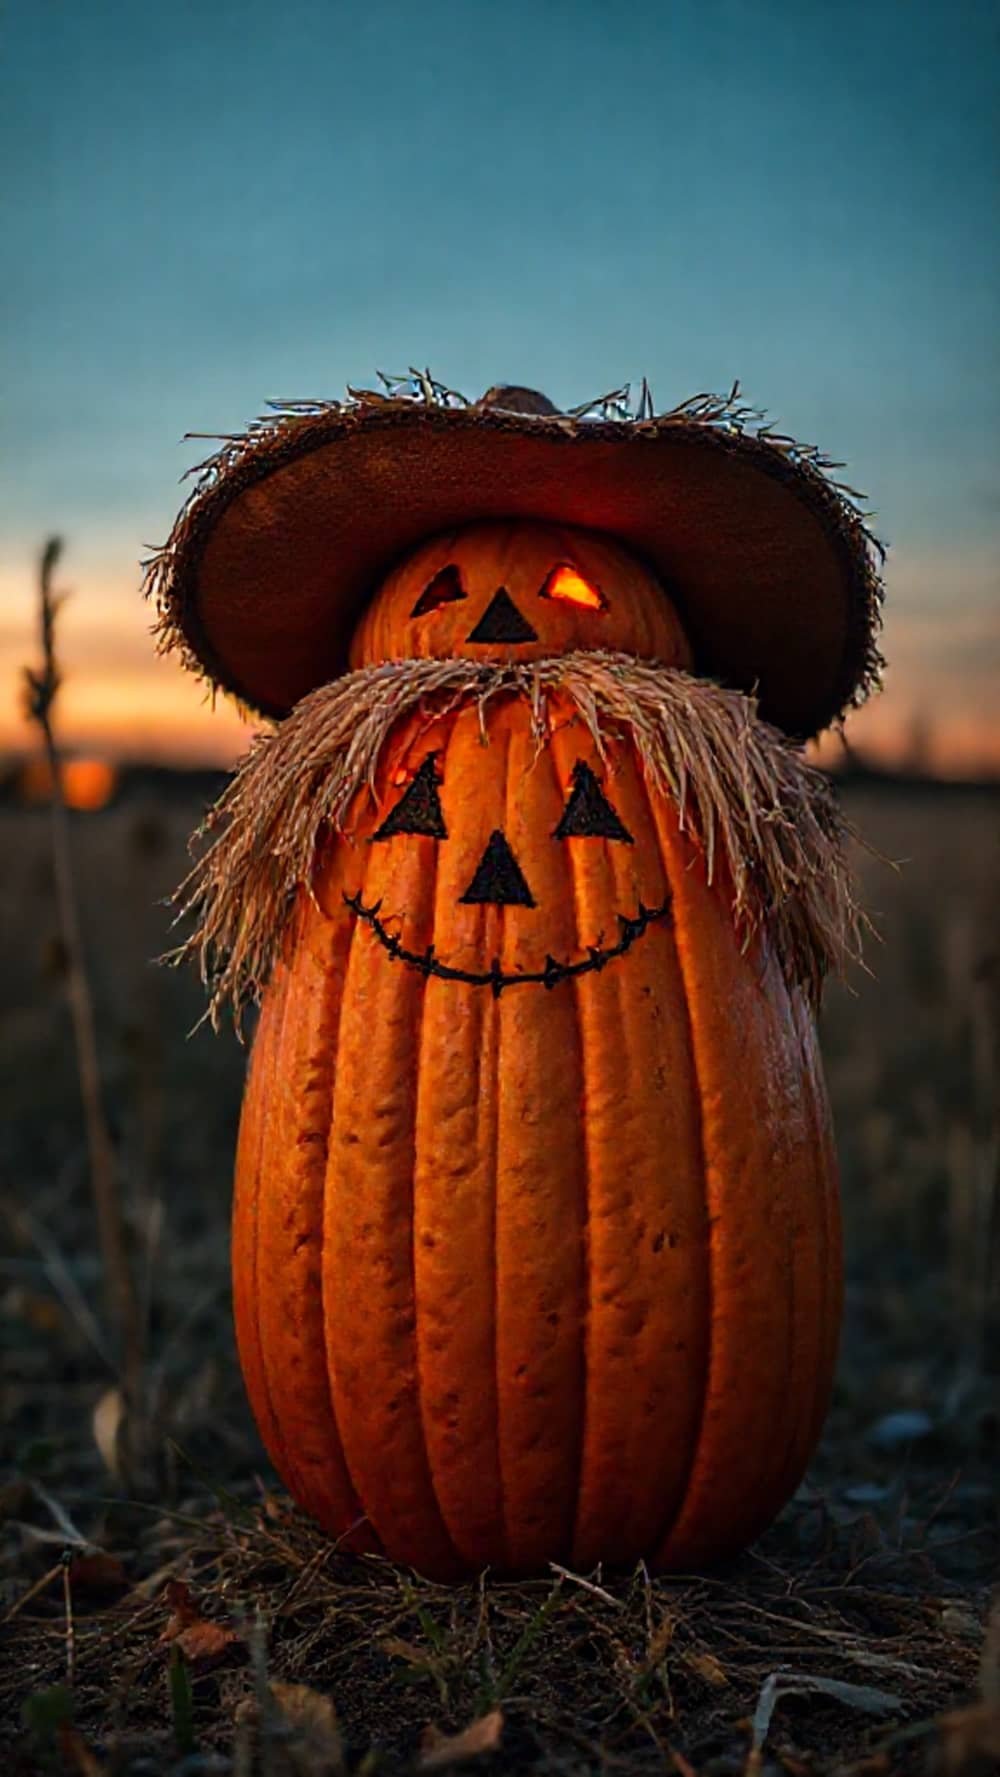
Scarecrow Pumpkin
- Base Coat: Paint the pumpkin a warm, earthy brown or yellow to resemble straw.
- Scarecrow Face: Use colorful paints to add facial features like big eyes, a crooked smile, and rosy cheeks. A straw hat made from dried grass or paper adds an authentic touch.
- Dress It Up: Consider adding small patches of fabric for clothing, or you can draw them on with fabric paint. You might even want to glue some straw or raffia around the base for a charming, rustic look.
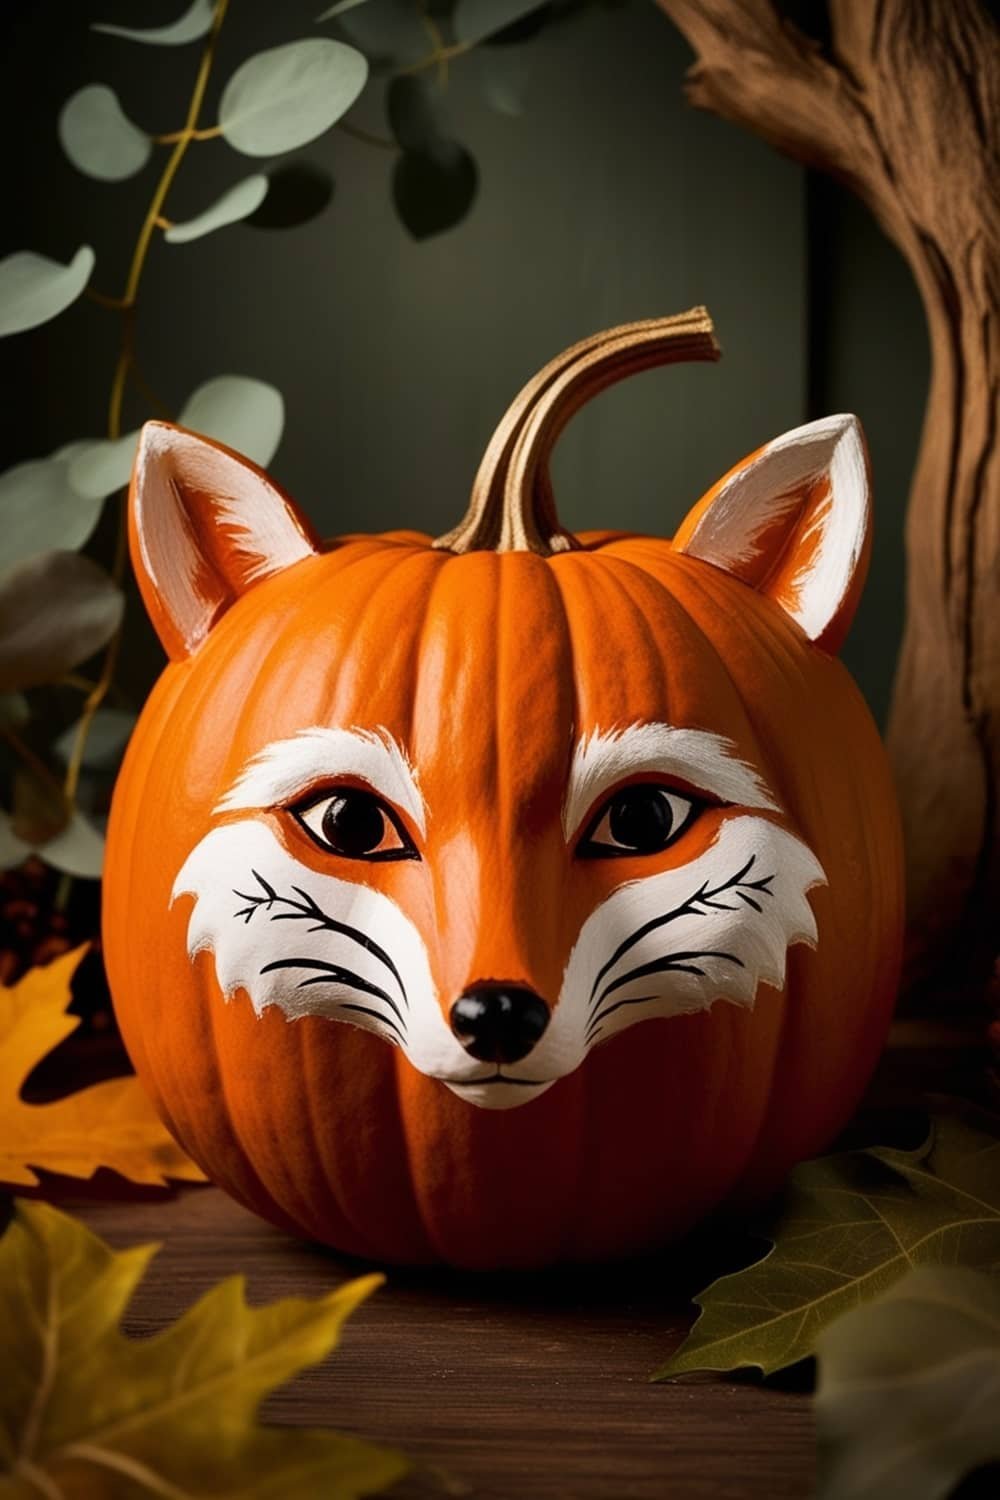
Woodland Critter Faces Pumpkin
Embrace the charm of the forest with adorable woodland critters!
- Choose Your Pumpkin: A medium pumpkin works best for creating cute animal faces.
- Base Color: Paint the pumpkin a warm brown or green.
- Animal Features: Use felt or paint to create the faces of your favorite woodland animals—think foxes, owls, and deer. Add big eyes and playful expressions for extra charm!
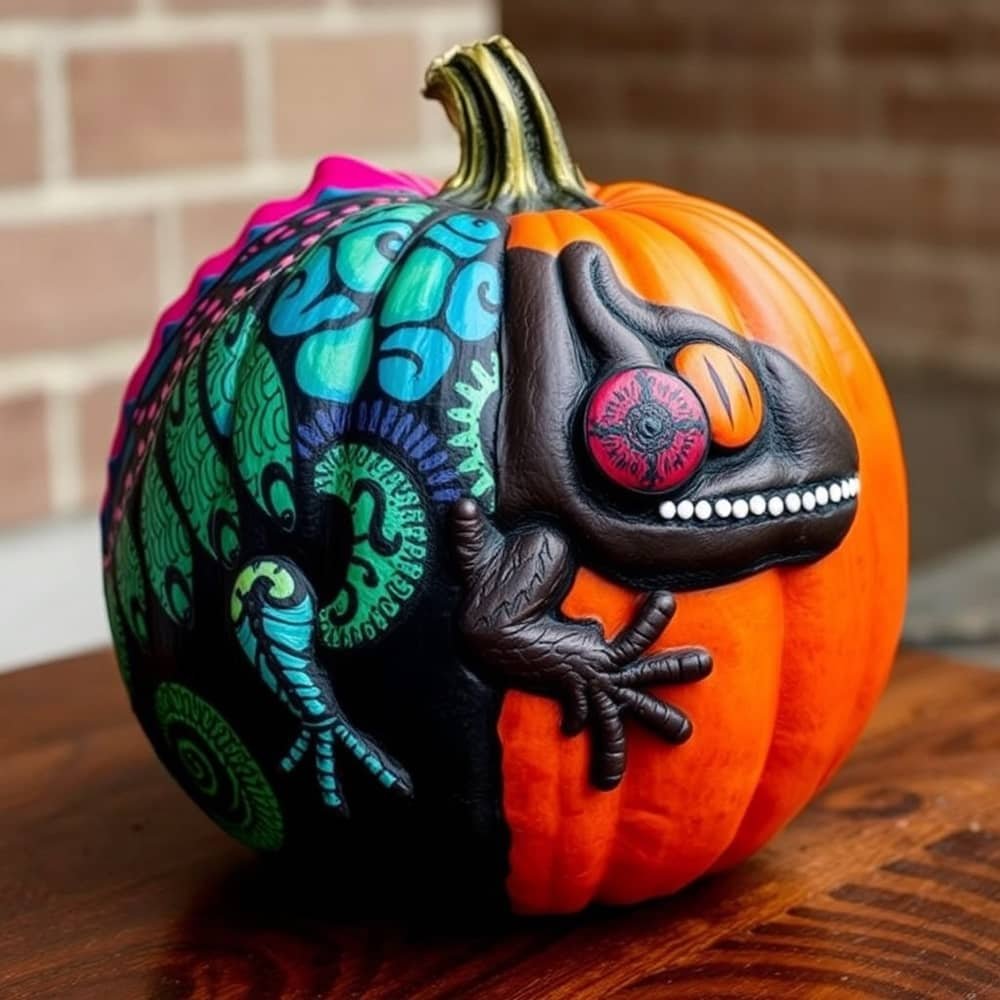
Chilling Chameleon Pumpkin
This colorful chameleon will surely catch eyes!
- Base Coat: Start with a bright green base coat.
- Chameleon Details: Use a variety of colors to paint the chameleon’s scales and eyes. Adding texture with sponges or brushes can make it pop.
- Positioning: Consider placing the pumpkin on a branch or some greenery to mimic its natural habitat.
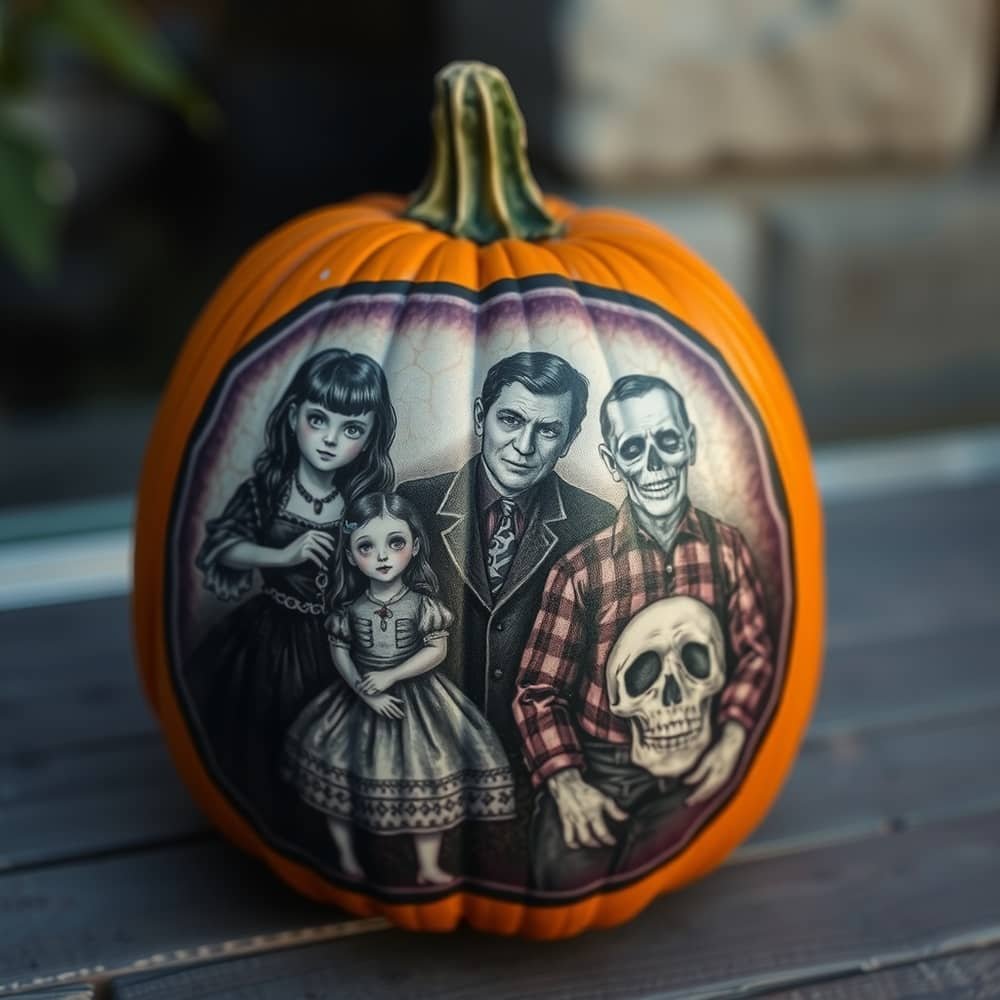
Cursed Family Portrait Pumpkin
Create a spooky family portrait that will give anyone the chills!
- Base Coat: Paint the pumpkin a dark shade, like black or dark purple.
- Portraits: Use stencils or freehand painting to create ghostly images of your family members. Add eerie details like glowing eyes or twisted expressions.
- Framing: For added flair, you can draw or paint a frame around the portraits to resemble an old, haunted picture frame.
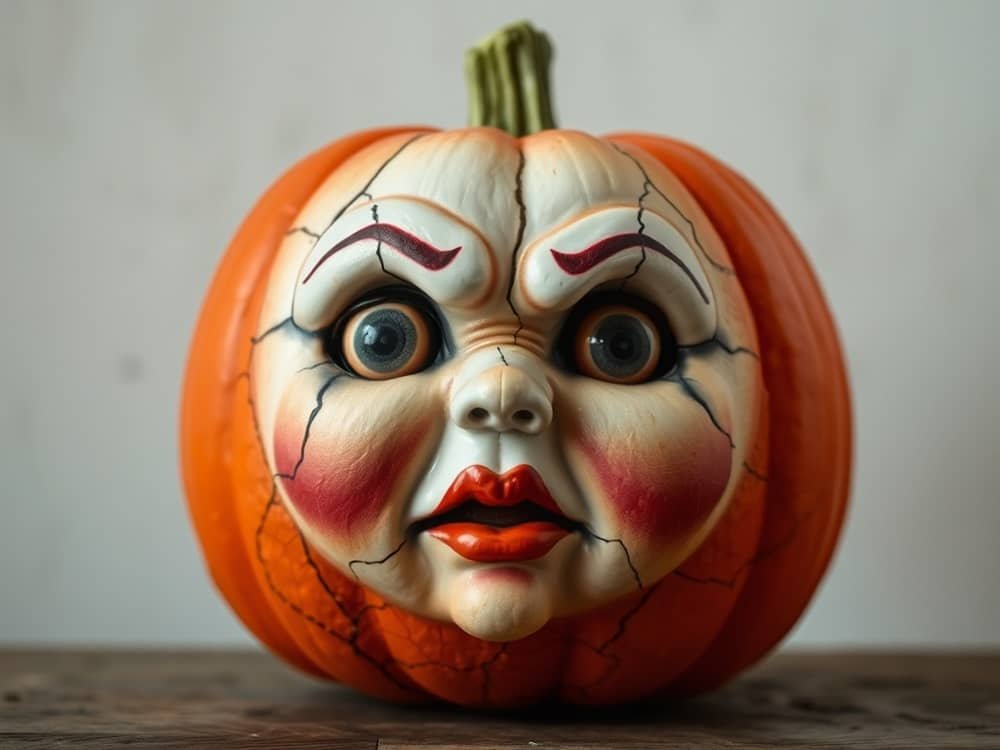
Demonic Doll Pumpkin
This pumpkin is perfect for those who love a good scare!
- Base Coat: Start with a pale skin tone or light pink.
- Doll Features: Use black paint for haunting eyes and red for a sinister smile. You can even create cracks in the “skin” using gray or brown paint.
- Details: Add small accessories like a tattered bow or a cracked neck to complete the creepy doll look.
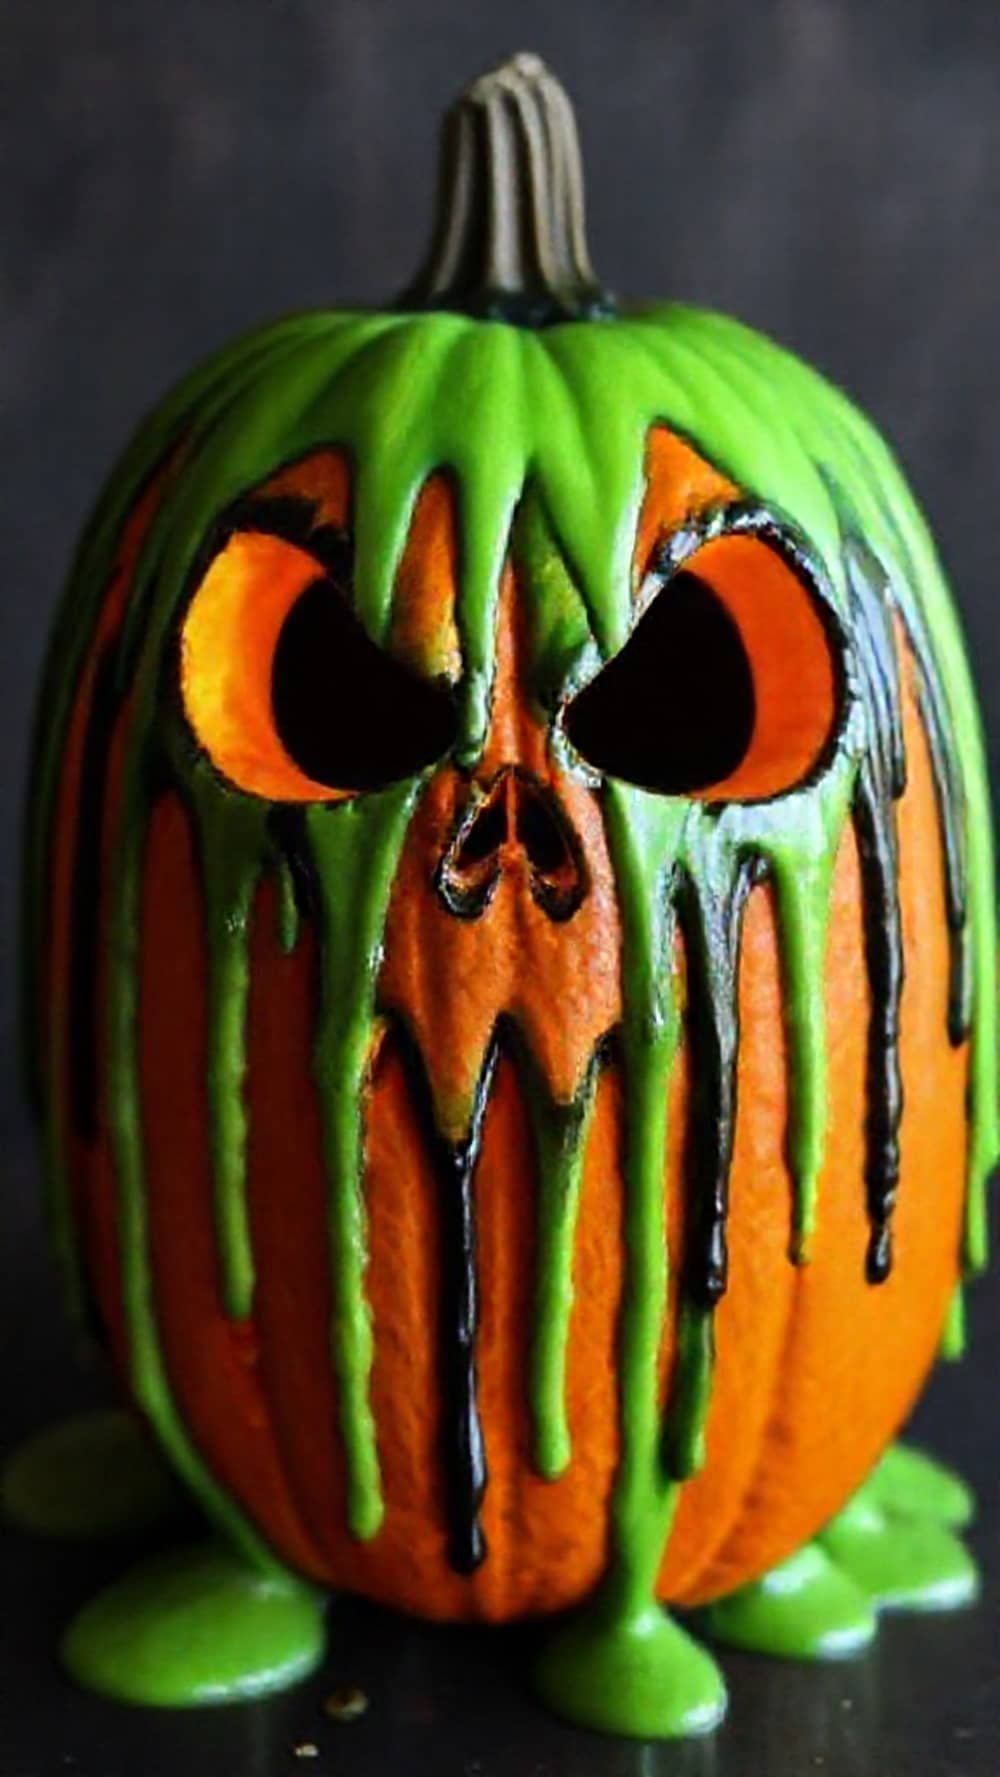
Dripping Monster Pumpkin
This pumpkin is sure to be a showstopper with its gooey appearance!
- Base Coat: Paint your pumpkin a vibrant color, like green or purple.
- Dripping Effect: Use a thicker paint or melted wax to create dripping ooze from the top. You can even add plastic bugs or eyes peeking through the drips for extra fright!
- Texture: Consider using a sponge to create a slimy texture around the drips.
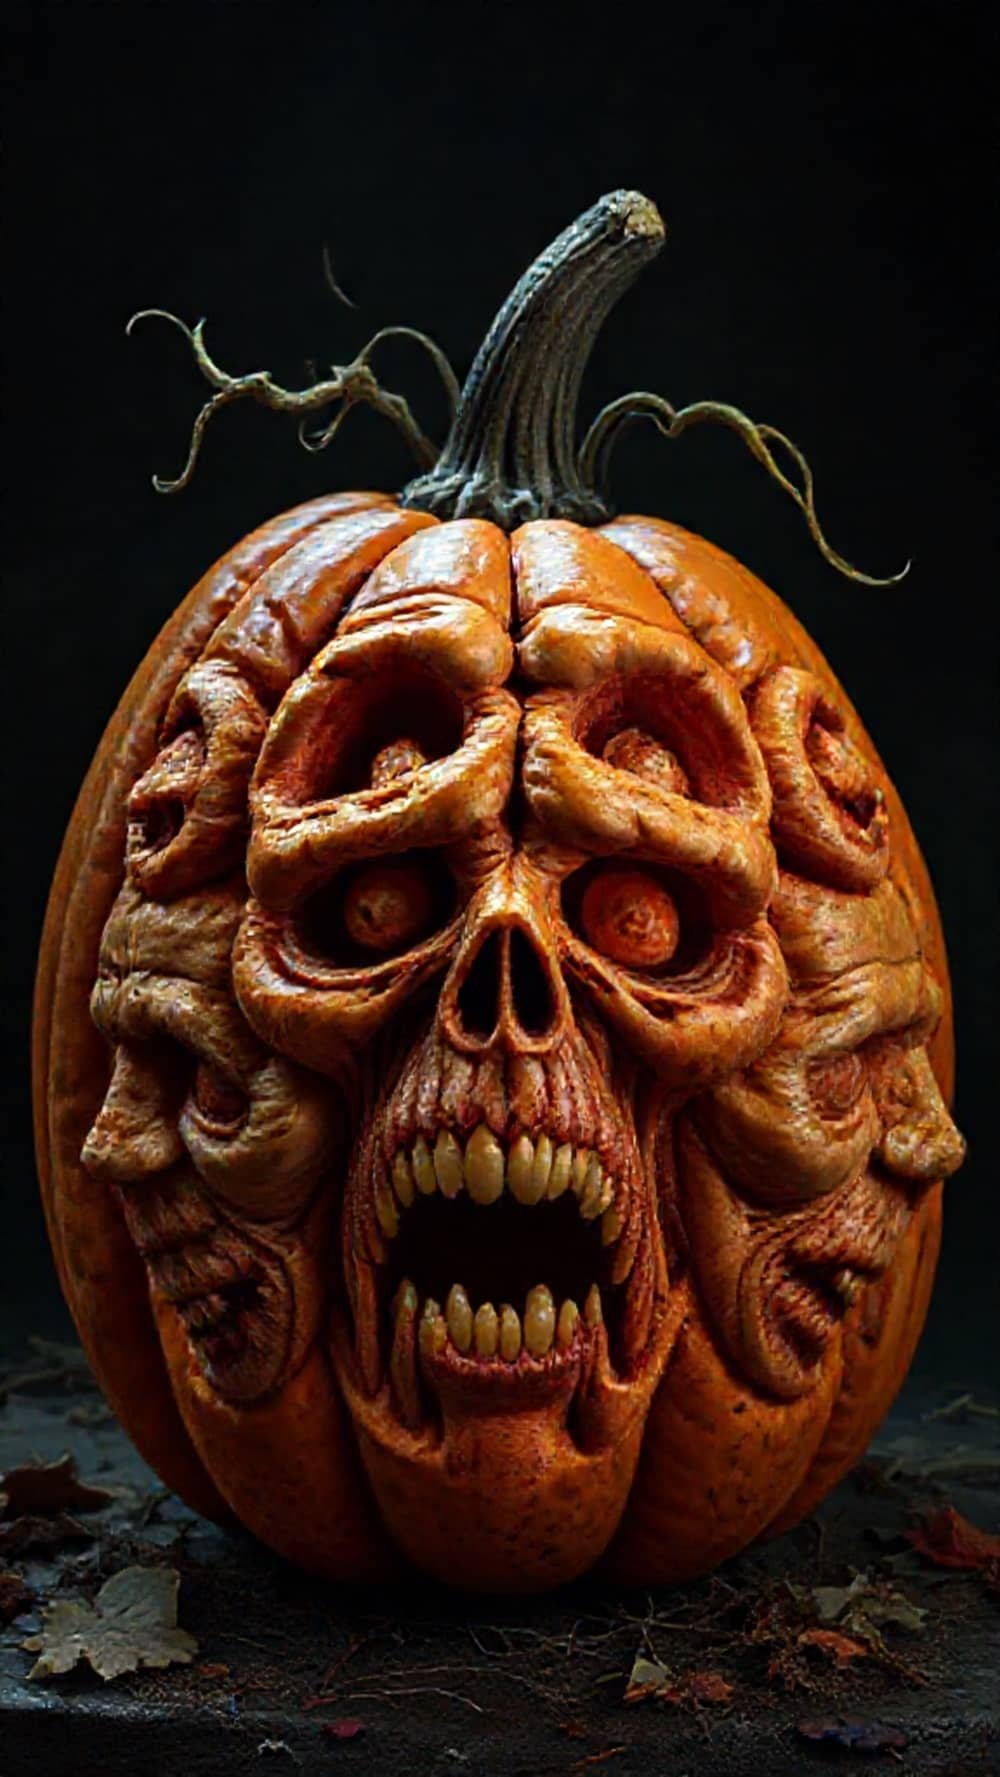
Flesh Collector Pumpkin
This pumpkin has a dark twist that will send shivers down your spine!
- Base Coat: Paint the pumpkin a deep red or dark purple.
- Face Details: Create a creepy face with sharp teeth and sunken eyes using black and white paint.
- Flesh Effects: Add texture by using sponges to create a flesh-like appearance, or attach pieces of fabric for a gruesome touch.
Ghost Pumpkin
A classic ghostly look that’s both spooky and sweet!
- Base Coat: Paint the pumpkin a ghostly white.
- Face Features: Use black paint to add large, hollow eyes and a gaping mouth. You can use a brush to create a soft, flowing edge around the ghost.
- Floating Effect: Add wispy lines around the pumpkin to give the illusion of floating, making it a charming Halloween decor piece!

Ghostface Pumpkin Scream
Pay homage to the classic horror movie with this recognizable design!
- Base Coat: Paint your pumpkin white.
- Ghostface Details: Use black paint to create the iconic mask features, including the wide-open mouth and hollow eyes. You can add some red drips for extra creepiness!
- Additional Touch: Consider wrapping a black cloth around the base to mimic the character’s robe for a more complete look.
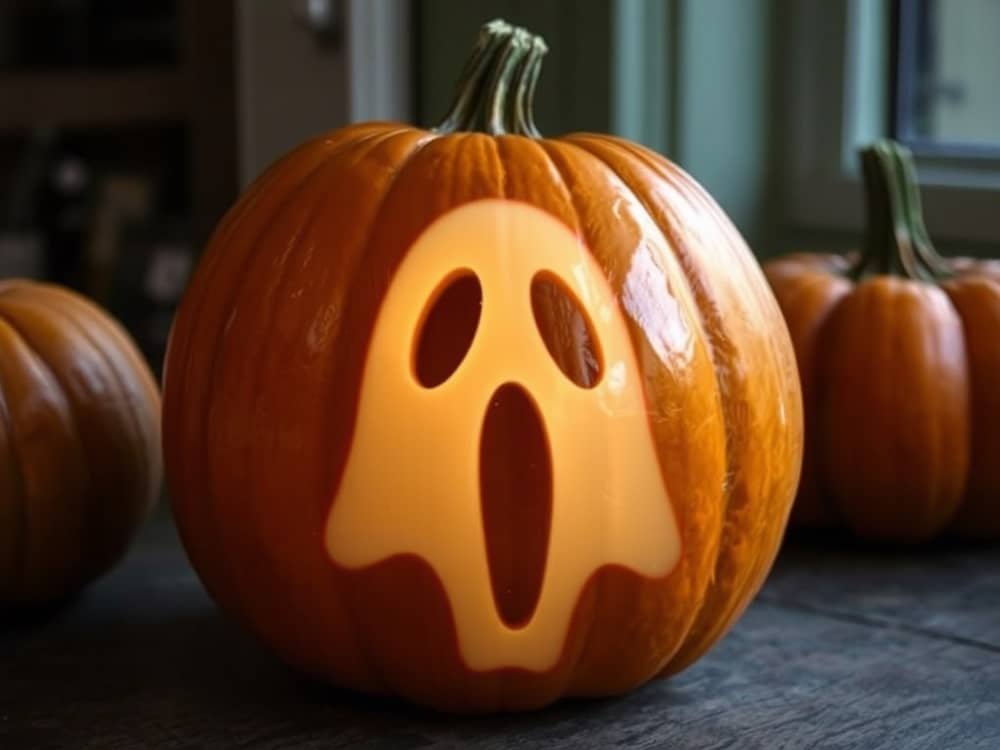
Ghostly Reflection Pumpkin
This design captures the eerie feeling of a ghostly presence.
- Base Coat: Start with a pale gray or white base.
- Reflection Effect: Use a mirror or reflective paint to create a ghostly face that appears to reflect back at you.
- Haunting Details: Add wispy lines or shadows around the reflection for an ethereal effect.
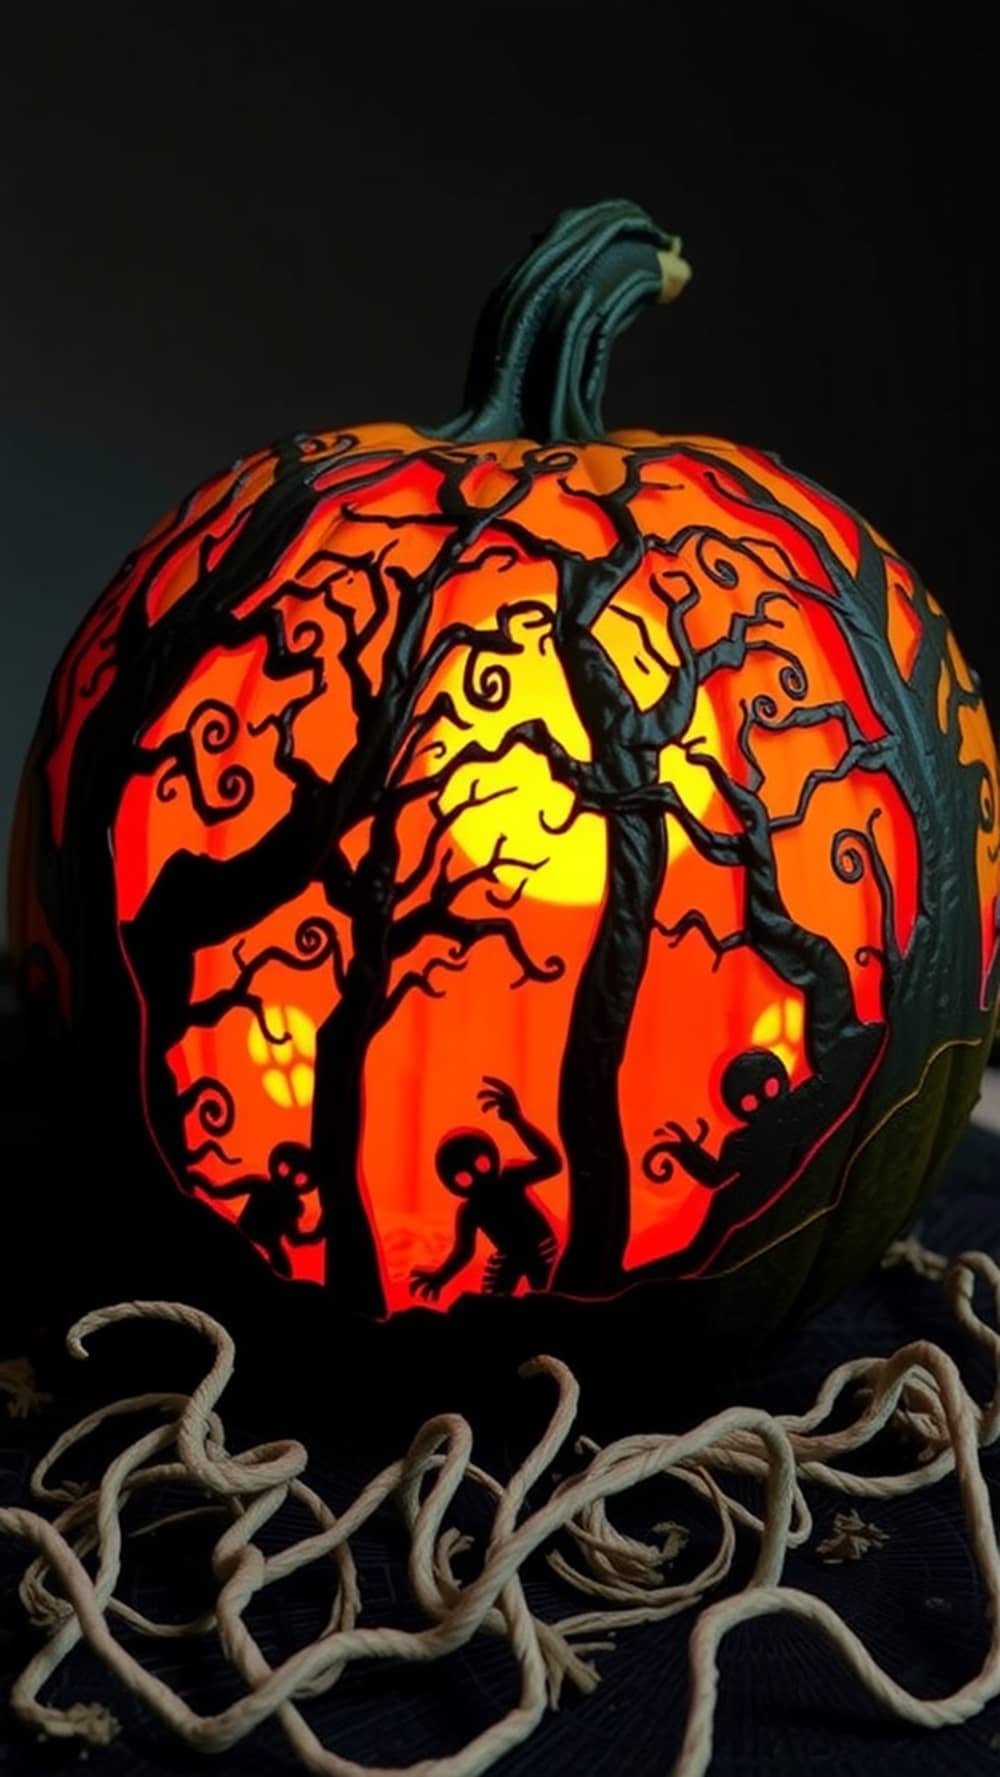
Haunted Forest Pumpkin
Transport your pumpkin to a spooky forest setting!
- Base Coat: Paint the pumpkin black for a nighttime vibe.
- Forest Scene: Use stencils to paint trees, bats, and a glowing moon. Consider using glow-in-the-dark paint for the moon and stars!
- Textured Background: Add some texture to the trees by using sponges or brushes for a more realistic effect.
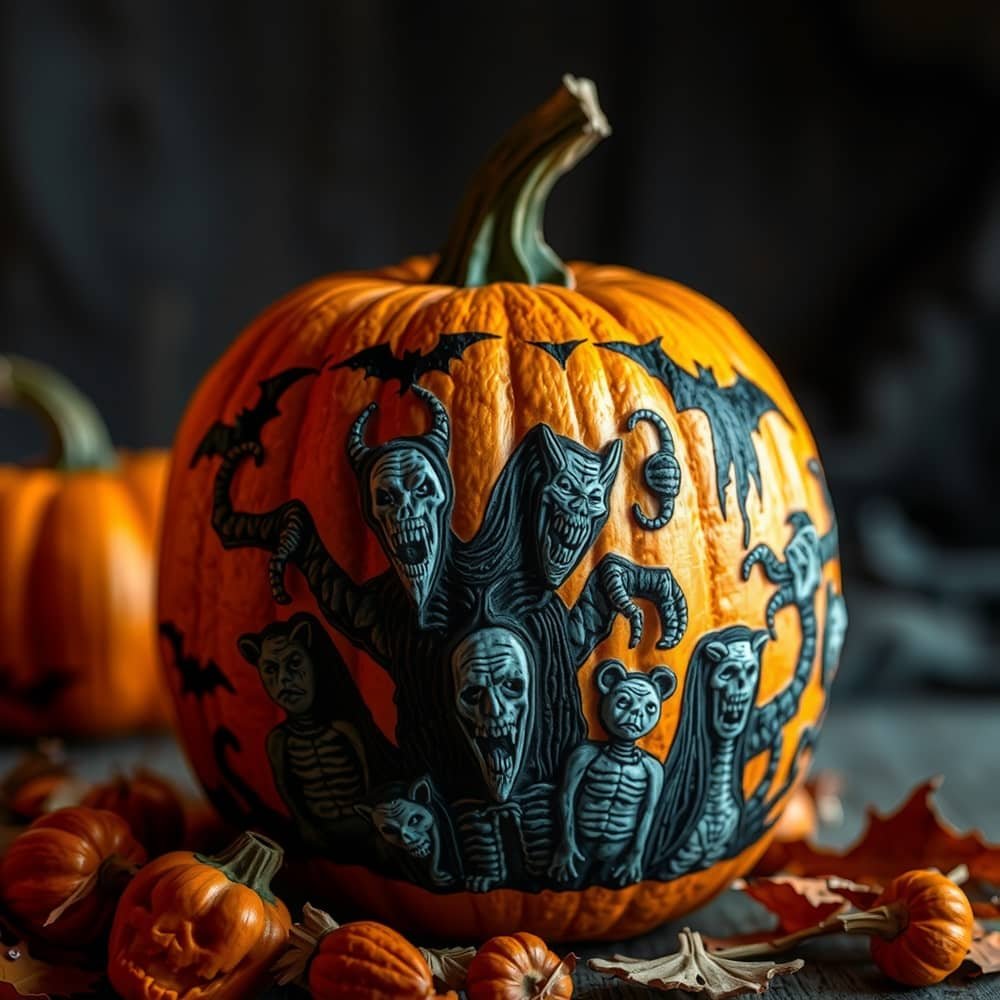
Nightmare Fuel Pumpkin
This one’s for the brave-hearted! A true nightmare come to life.
- Base Coat: Paint the pumpkin a dark color.
- Scary Features: Create a terrifying face with exaggerated features like large, sharp teeth and wild eyes.
- Extra Scare: Add elements like cobwebs or fake bugs crawling over it for that extra fright factor!
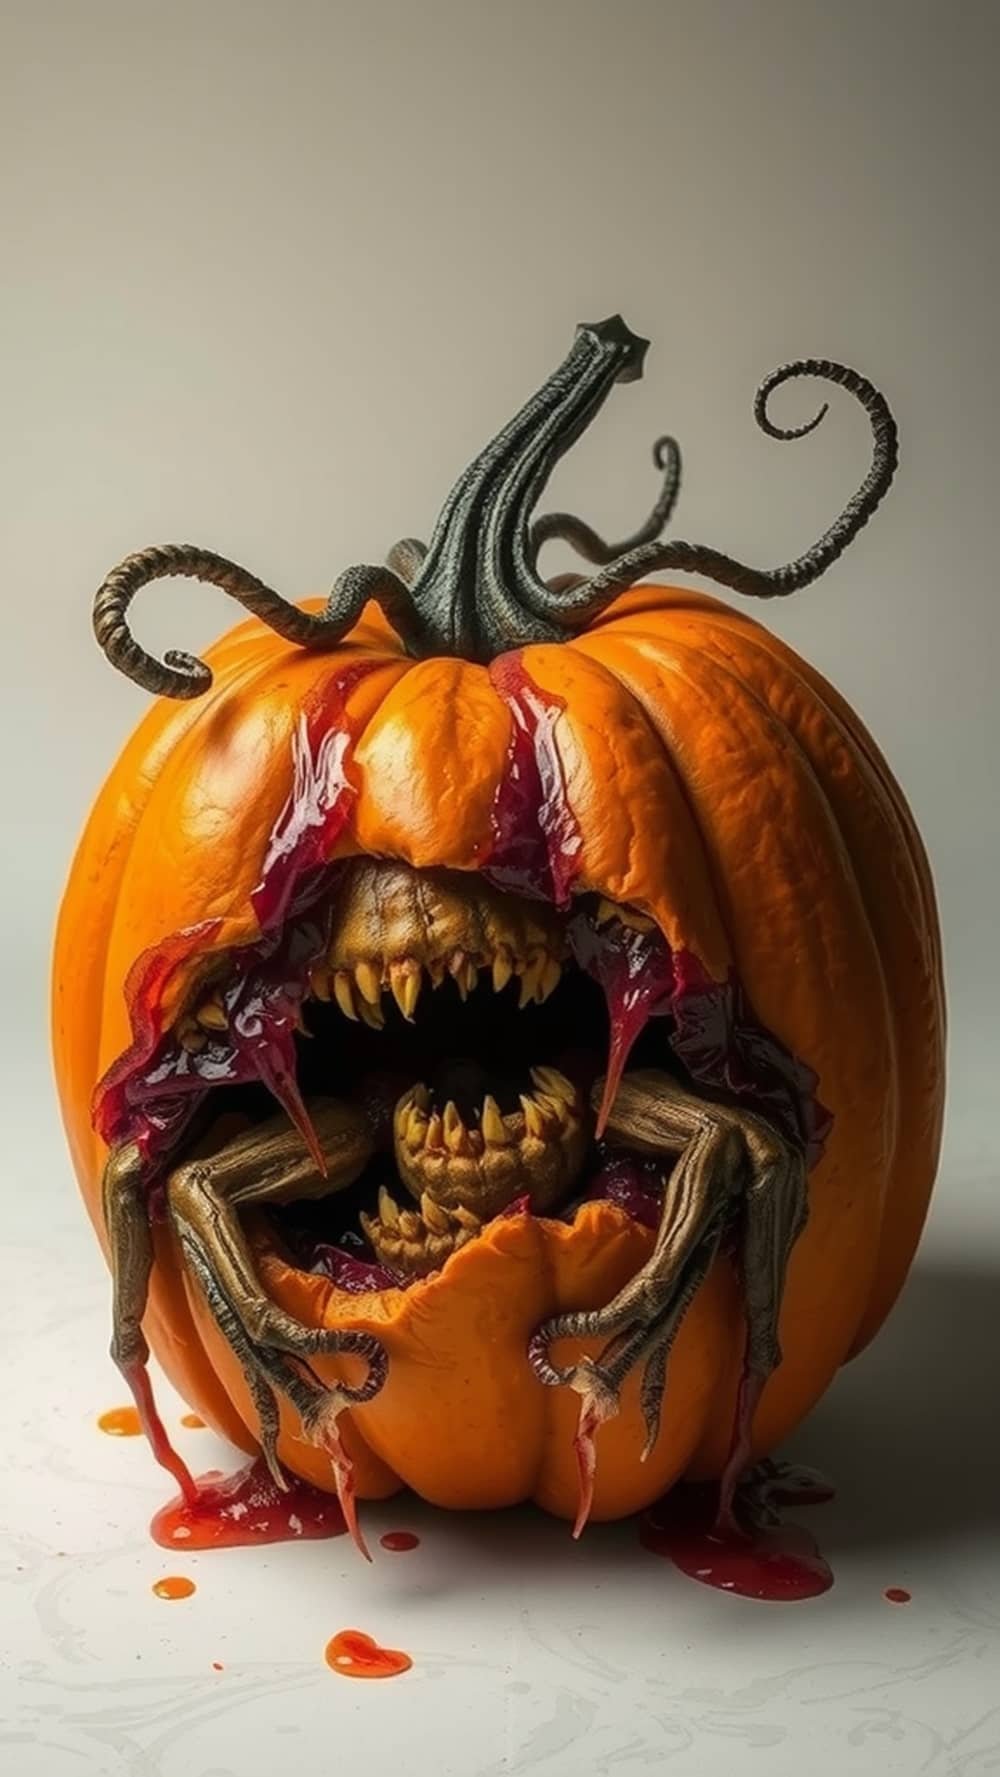
Parasitic Takeover Pumpkin
A pumpkin that seems to be overtaken by creepy crawlies!
- Base Coat: Start with a muted color like brown or dark green.
- Creepy Elements: Use black paint to create bugs, worms, or even vines wrapping around the pumpkin. The more creepy details, the better!
- Texture: Add texture with fabric or clay to mimic real parasites for a realistic effect.
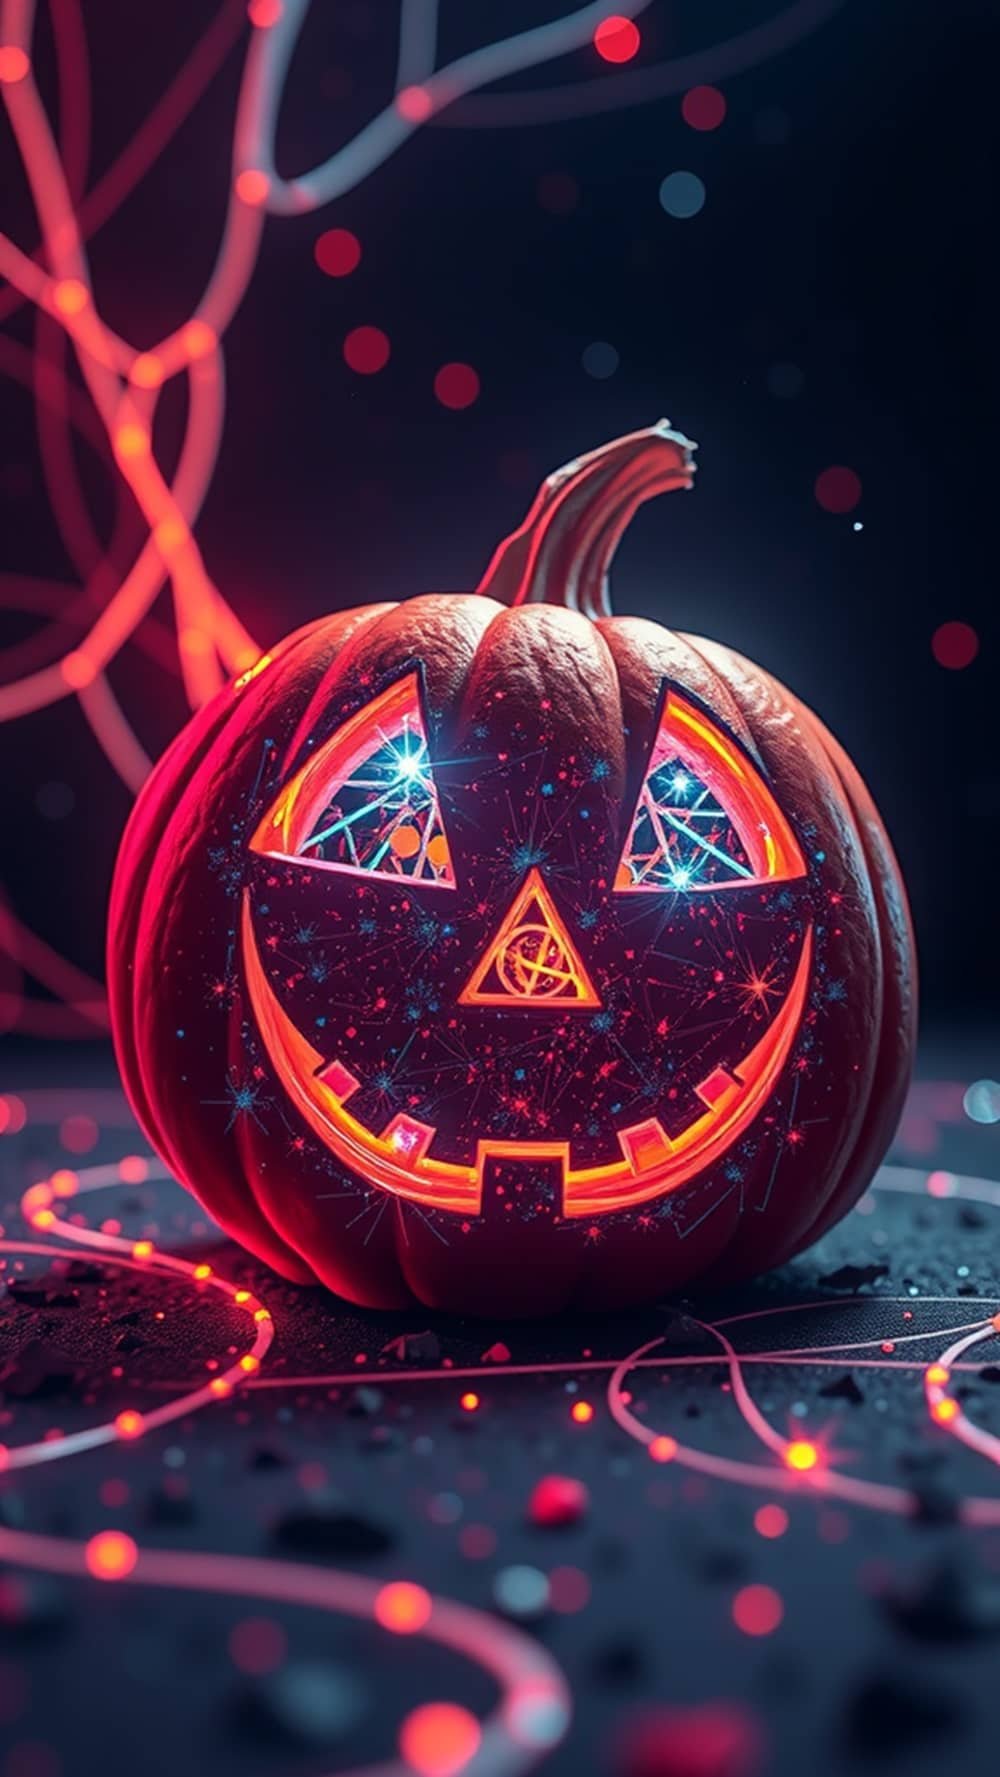
Quantum Glitch Pumpkin
Bring a futuristic twist to your Halloween decor!
- Base Coat: Paint your pumpkin black or dark blue.
- Glitch Effects: Use bright neon colors to create glitch patterns and shapes. Think squares, lines, and colors that blend into each other.
- 3D Elements: Add pieces of reflective material or foil to enhance the glitch effect, making it look like the pumpkin is flickering!
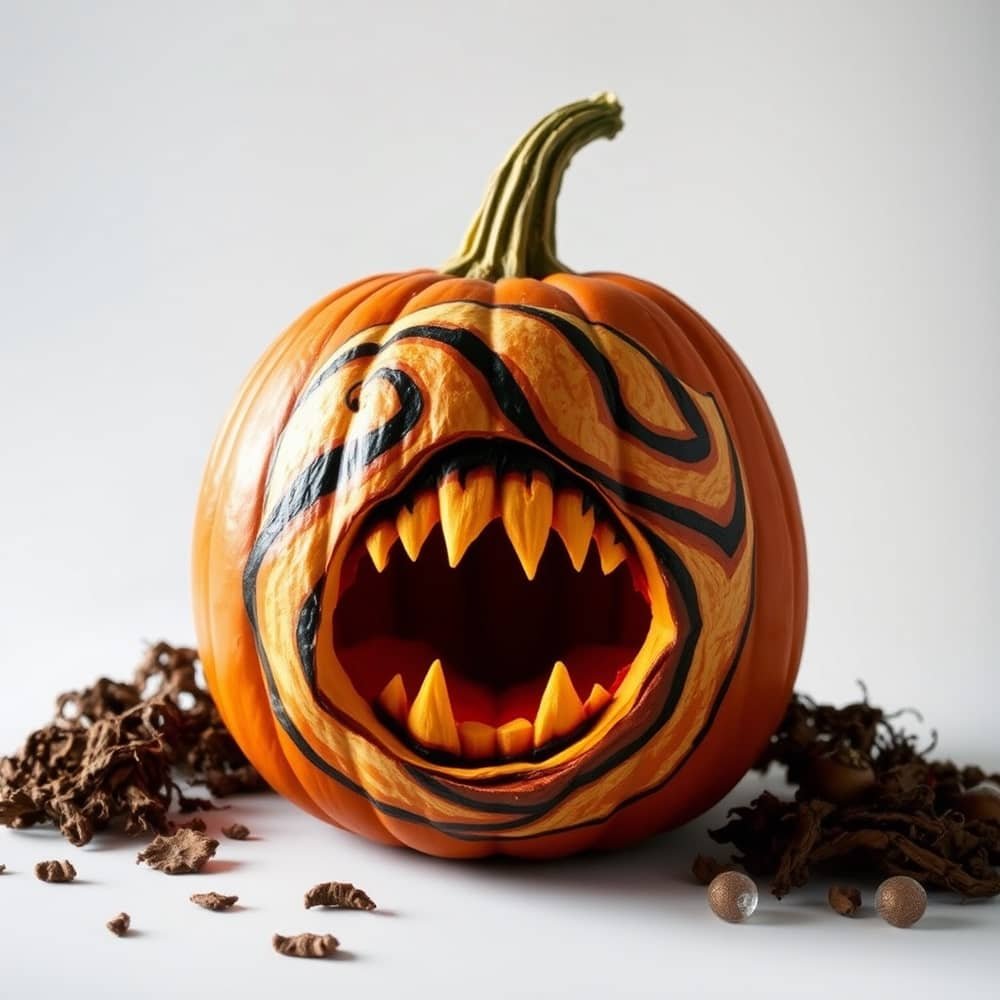
Screaming Vortex Pumpkin
Create a pumpkin that looks like it’s sucking you in!
- Base Coat: Start with a dark base.
- Vortex Design: Use swirling patterns in dark and light colors to create the illusion of a vortex. Consider using sponges or brushes to achieve the swirling effect.
- Sound Effects: For added fun, play some eerie sounds nearby to enhance the experience!
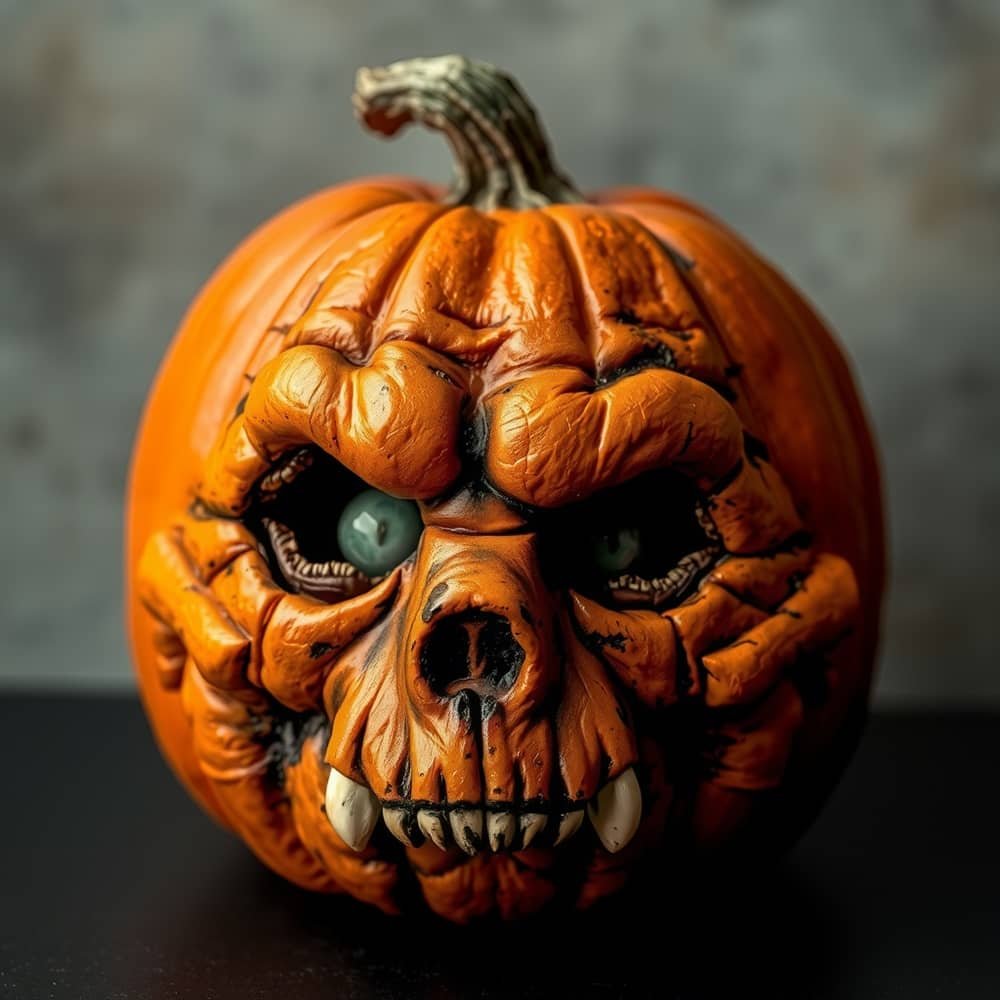
Tortured Soul Pumpkin
Finish off with a haunting pumpkin that tells a story.
- Base Coat: Paint the pumpkin a ghostly white or pale gray.
- Face of Anguish: Create a face that shows distress or horror, using dark paints for deep shadows and light for highlights.
- Embellishments: Add chains or fabric pieces hanging from the pumpkin to symbolize a tortured soul. This detail will make your pumpkin stand out!
And there you have it, friends! 40+ uniquely creative pumpkin ideas to elevate your Halloween celebrations. Gather your kids, get messy, and make memories while crafting these spooky designs. Happy pumpkin decorating, and may your creations bring both fright and delight!


